
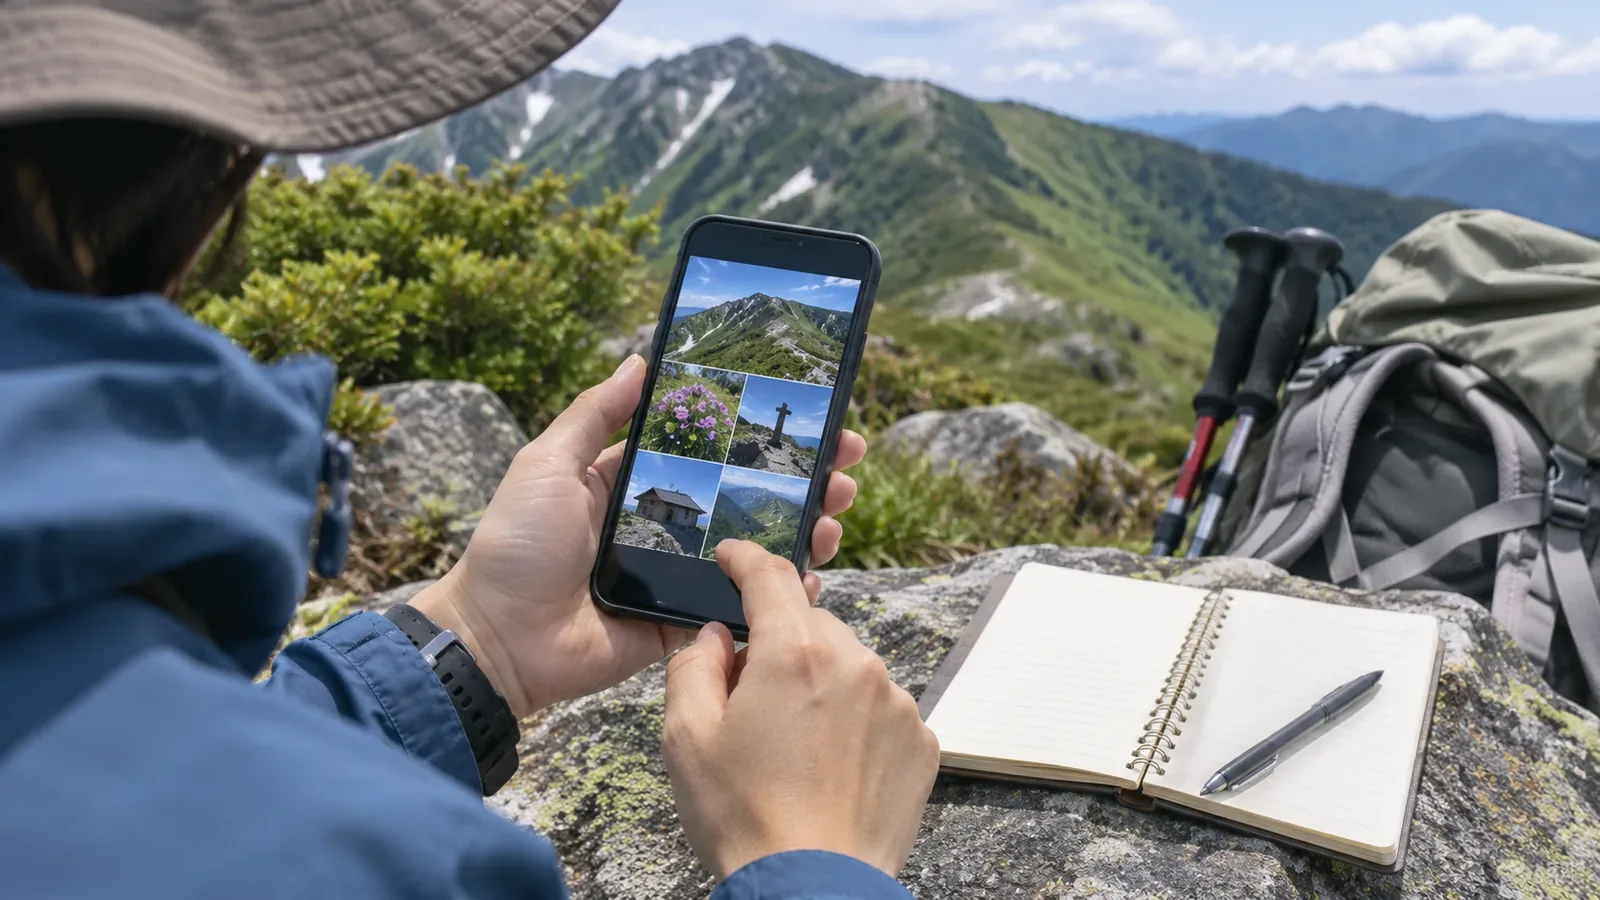
It is easier to decide who will receive the photos first than to consider each image on its own.Official guides explain that sharing a photo with location data can reveal where it was taken and that what gets shared depends on the method. Based on that guidance, the editors suggest three groups: photos for yourself, for your companions and for the public.
Where location data is stored and where it appears
According to Google Photos Help, a photo may have a location if the camera saved it or if you added it manually. Google Photos can also estimate it from clues such as landmarks. Only photos with an assigned location appear in the map view.
Before sorting, the editors suggest opening the map and reviewing which photos have pins. Check whether locations near your home or where you parked are mixed in with trailheads and summits.
Apple's iPhone guide explains that sharing a photo or video can also share metadata such as location, date and time. It also describes opening Options from the Share button in Photos and turning off Location. Steps vary by app and OS, so check the instructions for the way you plan to share.
Keep camera-recorded locations separate from locations estimated or added by a photo service. A map pin is not necessarily a GPS reading from the moment of capture. If a photo is absent from the current map view, it can still have a location elsewhere. Check the details of each photo before sorting.
Decide what to keep based on who will see the photo
The editors suggest organizing by who will receive the photo. Keeping location data lets you find the place again. Removing it limits what the recipient can learn about the camera location.
In your private archive, keep locations you want to remember. A location can be especially useful when revisiting photos of junctions or places where you considered turning around while planning a future hike.
For photos sent to companions or family, you might keep locations for trailheads, summits or junctions. Consider removing locations near your home, your parking spot or accommodation when they could reveal where you live or when you are away.
As a rule, remove location data from photos posted on social media or blogs. Public posts can reach people you did not choose.
Removing location data may still leave the place recognizable.Google Photos Help notes that someone can infer the location from landmarks in an image even if it is hidden. A summit marker, a distinctive mountain or a sign at the trailhead can reveal where a photo was taken without metadata. Before publishing, check location data and the visual clues separately. If you are unsure about a photo, leave it out.
Test what each sharing method passes on
In Google Photos, you can choose whether to share locations in each album, link or conversation. Partner Sharing includes location details, with exceptions for some older settings. Check which photos and location details the recipient can access. Google Photos can change or remove only estimated locations and those you added manually. Locations the camera added cannot be updated or removed there. If you download and email a photo or otherwise share it outside Google Photos, edits made in Google Photos do not apply and the original location saved by the device can appear.
A change in the app may leave the original location in the file.If you want to remove the location, check what the recipient receives for each method you use to share.
You can also control which photos get locations when you take them. On iPhone, open Settings, then Privacy & Security and Location Services to check Camera's permission. If you want to stop recording locations in photos, adjust the app's setting without turning off location access for hiking maps. Changing the setting for future shots and removing location data from existing photos are separate tasks.
Before the hike, take a few test shots somewhere you would be comfortable revealing. Check the photo details and map view. If you want to stop recording location data, check the camera permission and the test results as well as the connection status. Send a photo to another device of your own through the method you plan to use, and inspect the received file. Note what you confirmed and check again after app or OS updates if needed.
Use date and mountain notes for photos without locations
Photos without location data can still be sorted by date and time if those values are correct. Nikon's Z f guide asks you to set the time zone, date and time before use. A flashing t on the shooting display means the internal clock has reset and will not record the correct time. The Canon EOS Kiss X10i guide says the settings can reset when the camera is stored without a battery, the battery runs out or the camera stays below freezing for a long time. It also asks you to check the date and time after changing the area or time difference. Turning daylight saving time on or off changes the time by one hour.
These instructions are model-specific. One way to compare cameras is to photograph the same accurately set clock with each device before and after the hike. Compare the display with the time recorded in the file. It gives you an approximate offset, not a second-by-second check. If you change a setting during the hike, note when.
You can describe a place in words when a photo has no location data. The Geospatial Information Authority of Japan's list of major mountains includes names, prefectures, elevations and coordinates. Names such as Asahi-dake, Komagatake and Nantai-san can refer to peaks in different prefectures or at different elevations. Some entries note changed names or elevations. Write the prefecture with the mountain name, and if you include an elevation, note the map and date you checked it. GSI Maps shows elevations and coordinates in degrees, minutes and seconds or in decimal degrees. Before publishing coordinates, consider whether they help introduce a trailhead or reveal someone's home area or a place you wish to protect.
Summary: decide by audience, keep the originals and test the settings
Decide whether to keep location data based on who will see the photos.First review the map for photos with a location. Then group images for yourself, your companions and the public. In public photos, also check whether visible landmarks identify the place. Test how location data is handled by each sharing method, and use notes about the date and mountain for photos without location data. How you remove it depends on the device and method, so check the steps before sorting.
References and sources
- Apple: Share photos and videos on iPhone
- Google Photos: Understand, find and edit your photos' locations (iPhone and iPad)
- Apple: About Privacy and Location Services in iOS, iPadOS and watchOS
- Geospatial Information Authority of Japan: Find the Elevation of a Location
- Geospatial Information Authority of Japan: Elevations of Japan's Major Mountains
- Nikon Z f Guide: Setting the Date and Time
- Canon EOS Kiss X10i Advanced User Guide: Date, Time and Zone