
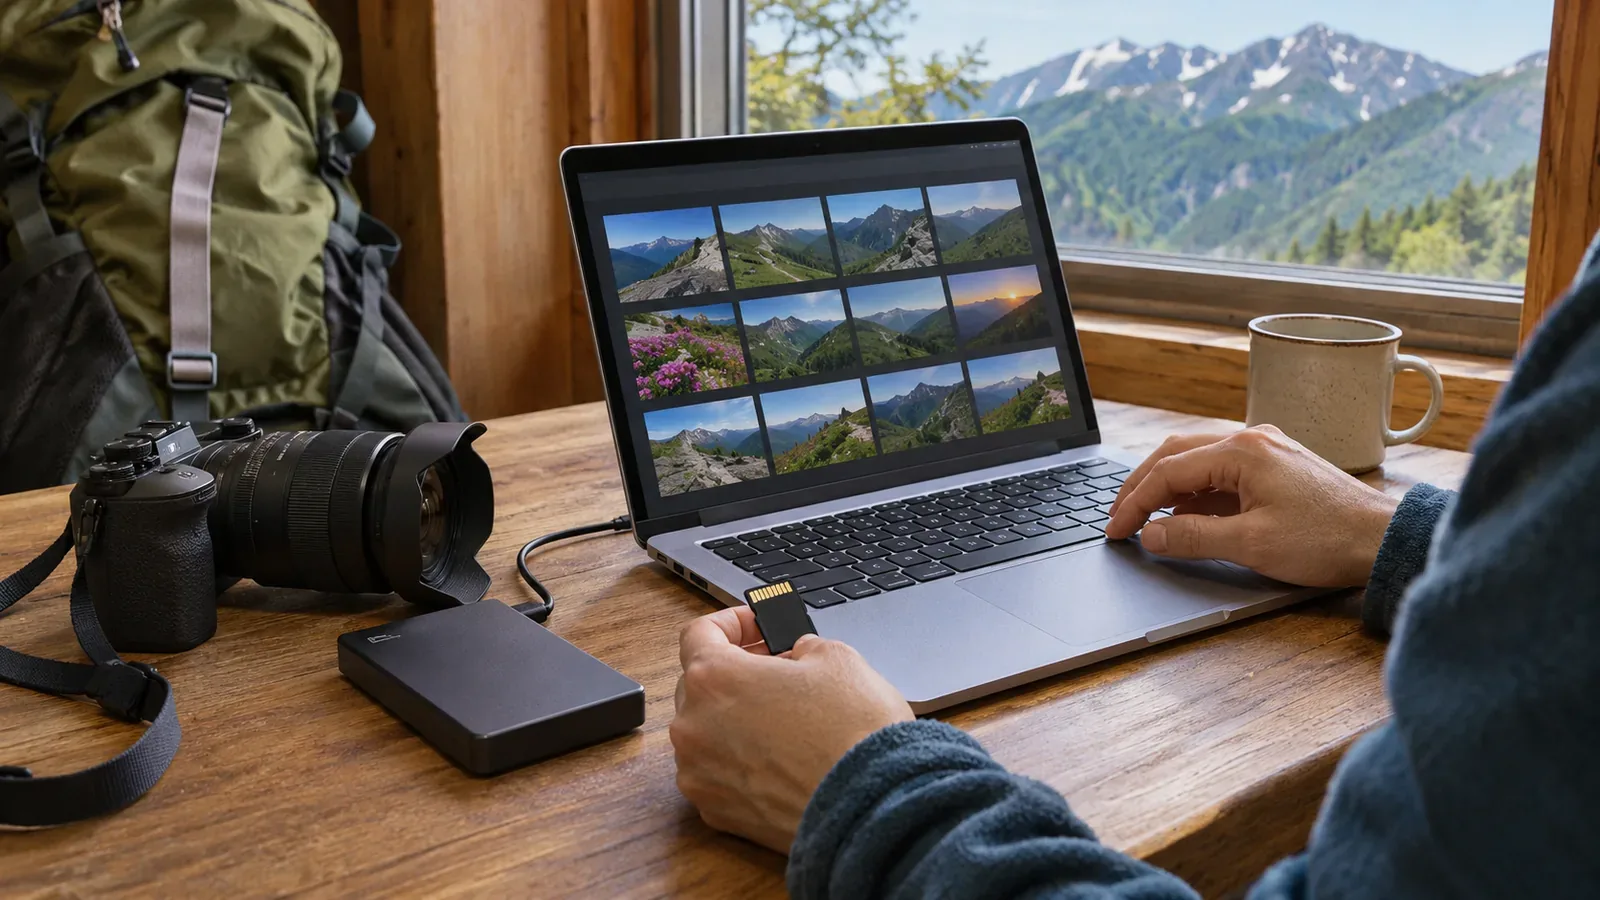
You get home and sit down to look through your mountain photos, only to realize they are still on the memory card or phone. These files are a record of a day you care about, so make copies before you start sorting them. Choose where to import them, check that the copies open and save them in another place as well. With a routine you can keep up, you can take your time choosing and sharing photos.
Start by locating your files
Check the cameras, phones and memory cards you used that day and note where the photos and videos are. If you used several devices, make a note of each source to make it easier to spot a missed import. If someone you hiked with will send photos later, mark them as “awaiting transfer” separately from your own so you can get started as soon as you get home. Check how the photographer wants their shared photos to be kept. The US Library of Congress guide to preserving personal digital photographs also walks through finding, selecting, organizing, copying and maintaining them.
Give the first import folder a name you can find again, such as the date and destination. If you used several devices that day, you can give each its own subfolder. A simple name is enough to keep different days apart and show you where to look.
When importing the originals, check for videos and any related files the camera created as well as photos. The file arrangement varies by device and storage format, so consult the manual if you are unsure what a file is. If the connection drops during an import, make sure the copy finished before moving on.
Check that the copies work
Once the import says it is complete, open the destination folder and try viewing files such as the first and last photos and videos. Comparing the file count and total size can also help you spot an incomplete transfer. Matching numbers alone cannot tell you whether every file is intact.
If you have several cards, finish importing and checking one at a time and keep track of which ones are done. When different devices use similar file names, read any overwrite prompt carefully and use separate folders to protect the originals. For example, two cameras might both create a file with the same number. Giving each device its own folder makes those files easy to tell apart. If you rename files automatically, check that you can still trace them back to the original date and device. Preserve the originals before editing or sorting the photos.
Before deleting files from the camera or reusing a card, make the copies you need and check that they open at the destination. The Nikon Z f manual also explains that formatting a card erases all data and advises you to save anything you need to a computer or elsewhere first. If you are unsure about the copies, keep the originals and look into the problem. Importing by copying makes it easier to check your work than moving the originals with a procedure you are unfamiliar with.
Keep copies in separate places
If you keep photos on just one device, losing it or finding that it no longer works could leave you unable to retrieve them. Alongside your computer, consider a separate location such as external storage or the cloud. Choose based on capacity, cost, connectivity and how easily you can manage it.
The US Library of Congress describes making at least two copies of selected photos and keeping them on separate media or in separate locations. This can help keep personal photos from depending on a single location. With cloud storage, check that the files you need were actually saved. For example, Google Photos has requirements for file format, size and available space. After turning on backup, check its status and check individual files.
Syncing and backup work differently depending on the service. With iCloud Photos, for example, deleting a photo from one device also deletes it from other devices using the same Apple Account. Seeing a photo on two devices alone does not mean you have two independent copies that will survive deletion. Before organizing the files, check the service's documentation to see how and for how long you can restore them and how to copy them elsewhere. Check that you can still read external storage from time to time, too.
Make files easy to find and maintain
Once you have copies, make a short note of the date, mountain area, route and devices used. If you are unsure of a location or mountain name, mark it as an estimate. If files appear out of order when sorted by date and time, check whether the device clocks differed. You can try edits that would change the original file on a copy.
If you receive photos from someone you hiked with, ask how they may be shared and keep their files separate from your own by source. Before publishing photos that contain location data or show people, check what those people are comfortable with and review the sharing settings. Saving a photo and publishing it are separate decisions. Check who can see it before adding it to a shared album.
You can leave the final selection until later. Finish importing and copying first and decide what to discard when you have more time. Check available space and how to retrieve files regularly so you can deal with issues before the backup stops working. If you change where you store copies, check that the files open in the new location and update your notes.
Summary: back up before organizing
After you get home, check the devices you used, import the files and make sure they open in the destination folder. Leave deletion and card reuse until you have made and checked the copies you need.
Store copies in more than one place and give them names and short notes that will help you find them again. Check readability and available space occasionally, and look after your photos with a routine you can keep up.