
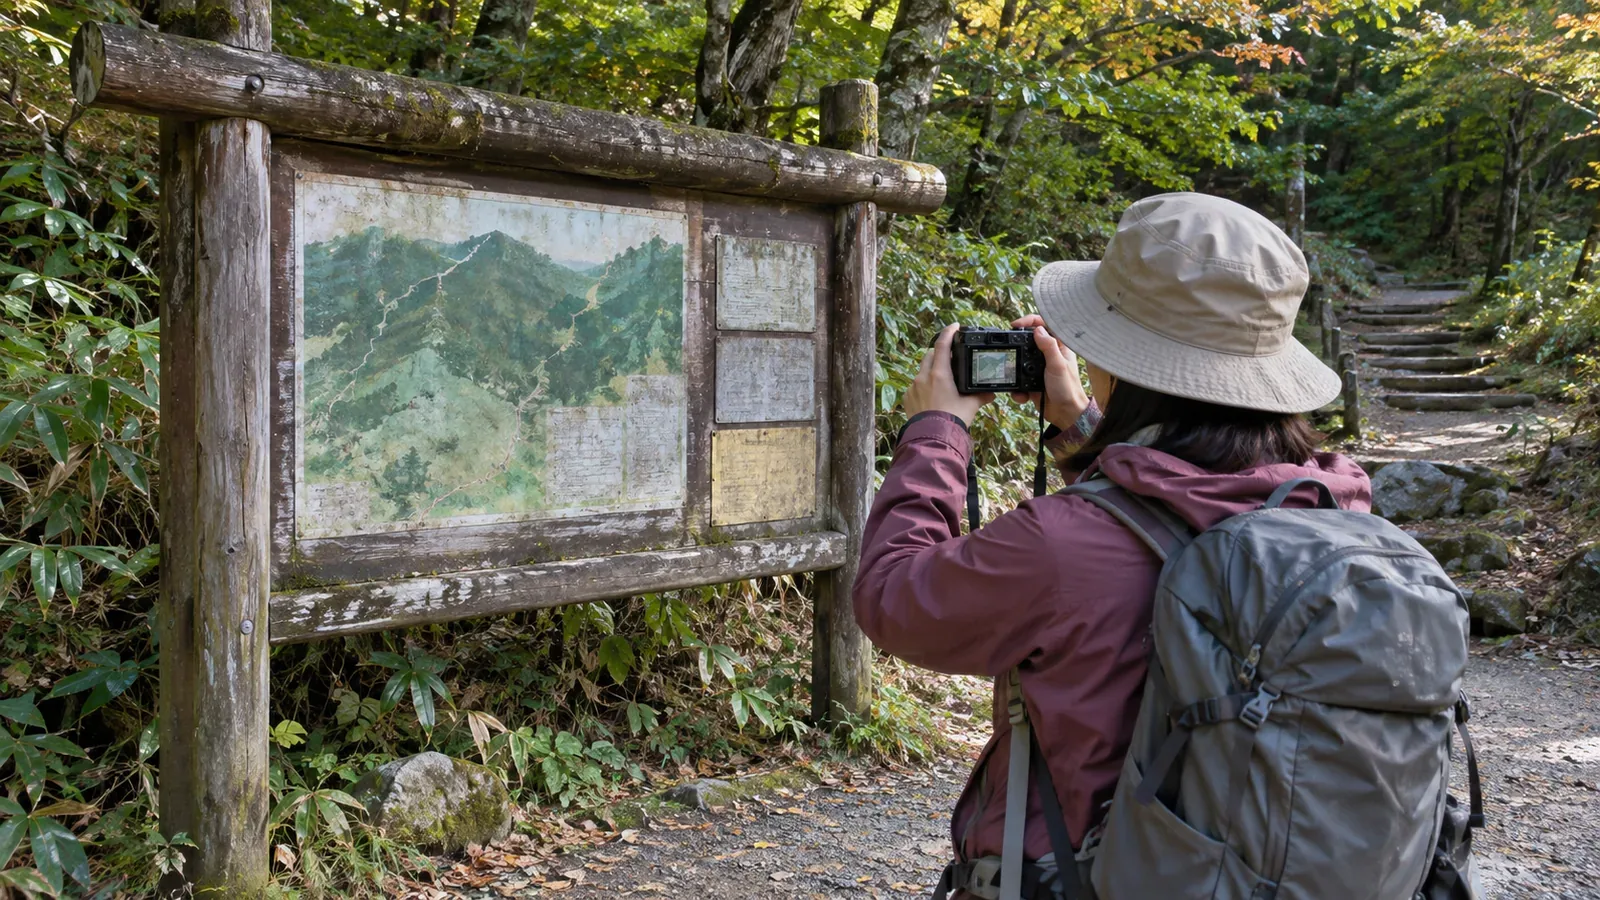
You take one photo of the trailhead board and get home to find the small print unreadable. A close-up of a warning can have the opposite problem: you can’t tell where on the map it applies. Where photography is allowed, record the whole board and the details you need so you can match them up later. Record when you took them.
Use a wide shot to record the layout and area covered
First find the title, map coverage, legend, publisher and date. If you can photograph the whole board, frame it so you can tell which text belongs with each diagram. Follow any no-photography signs or rules for the site and keep the path clear.
Write down the date, location and name of the board. If a trailhead has several boards, record enough to tell them apart. That will help you avoid mistaking a photo of an older board or a board at another location for the one you meant.
If the board shows a publication or update date, record that separately from the day you took the photo. If you can’t find the board’s date, mark it as unknown instead of assuming the information is new.
Show where the close-ups fit
Take close-ups of the things you’ll need to read, such as place names, the legend, closure details and contact information. Use the same board number for the wide shot and the close-ups, and label them by position, such as “legend at bottom right” or “section diagram at top left.” A separate diagram may show the area covered, as it does in the notice reopening Mount Hakusan’s Echo Line. Check which heading goes with each diagram.
If glare or camera shake makes the words unreadable, change the angle from a safe position or look for the same information on the official site. Keep fences, the board and the path clear. Wait for others to pass or give them room.
At home, compare the wide shot and close-ups. If you still can’t read a word, leave it unresolved rather than guessing. Check the manager’s official notices or contact them if needed, and record what you learned later separately from what the photographs show.
Treat the photographs as a record of when they were taken
Ishikawa Prefecture’s Mount Hakusan hiking page says it compiles reports from hikers and others and updates as reports come in, so it may not be current. Conditions on the trail and rules for using facilities can also change after a photo is taken. Check the manager’s latest information to confirm whether you can use the trail.
When comparing an old photo and a newer one, check that they show the same board and the same section. Use the title and position to avoid mistaking two different notices for a change to one. Keep old photos as dated records. Leave their dates as they are unless you’ve verified newer information.
If you share the photos with fellow hikers, include the date, area covered and where to check for updates. Give them a way back to the original wording or the manager’s current notices. Mark any personal notes you add to the map so they’re distinct from the original.
Check the rules for taking and sharing photos
Before publishing, check the site’s rules for photography and publication, and find out where the board’s maps and photos came from. The Geospatial Information Authority of Japan allows some uses of its maps with attribution and requires a separate procedure for others. Check the guidance for your intended use. For other maps and images, check with their publishers or creators.
Check the background for people, vehicles, houses and nameplates. Japan’s Personal Information Protection Commission notes that photos and videos can contain other people’s information and location data. Leave out details you don’t need to publish and respect the wishes of anyone in the photograph.
If you can’t take a photo, you can still write down the title, publisher, date you checked and contact details. Keep what you could read on site separate from anything you couldn’t confirm, and consult the official materials later.
Recap: link the wide shot and close-ups with the date
At home, arrange each board’s photos so you can get from the wide shot to the close-ups. If the information was spread across several panels, note which panels were next to each other and, separately, which notice referred to which diagram. Keep unreadable details on a list to ask about later.
Use a wide shot to show the layout and area covered, and close-ups for the text you need. Make it easy to match them up. Treat the photos as a record of that date, and check both the rules for using or publishing them and the managing authority’s latest notices.
References and sources
- Ishikawa Prefecture: Mount Hakusan facilities and trail conditions
- Chubu Regional Environment Office: reopening the Echo Line in Hakusan National Park
- Geospatial Information Authority of Japan: check the procedure for using maps
- Personal Information Protection Commission of Japan: examples and precautions for handling personal information