
When reviewing a familiar trail, look beyond one memory such as “turn right after this rock.” Make sure you can cross-check four kinds of clues: signs, trail markings, terrain, and tools that tell you where you are. Drawing on official guidance and a hiking guide's explanation, this article offers a paper-map exercise for seasonal changes. Check the latest notices for your own hiking area before setting out.
Use more than one clue, even on a trail you know
In the National Police Agency's 2024 report, getting lost was the most common category among the 3,357 people involved in mountain incidents, accounting for 1,021 people (30.4%). Trips and falls on the same level accounted for 20.0%, and falls down slopes for 17.2%. The breakdown includes people picking wild plants or mushrooms and people sightseeing. It does not measure the incident rate among all hikers or establish that people are more likely to get lost on familiar trails. One possibility, in our view, is that after several trips you begin to rely on private reminders such as “just past that tree” or “before that rock” and check the signs and map less often. If you remember only one clue, losing sight of it leaves you with nothing to compare.
YAMAP gives examples of visual clues that can mislead. At a junction you may stay on the better surface of a forest road and miss the hiking trail. Tape on trees may have been put there for purposes unrelated to hiking. In dense fog or blowing snow, limited visibility can make it easy to lose the trail across gentle terrain. A clear track or a piece of tape cannot establish that you are on the right path. Ask whether you have come to trust such cues on the routes you know best.
Sort clues into four groups and check where each season can hide them
At a junction, check the destination and arrow on the sign. For every junction on your route, list four things: signs (the destination name and arrow), trail markings (waymarkers, cairns and paint blazes, with tape only a secondary clue), terrain (uphill or downhill, ridge or stream valley, changes in slope or trail width), and navigation tools (a paper map and compass, and the position shown in a hiking app).
For each junction, imagine the conditions that make clues harder to see. This is an editorial exercise. Think about leaves or grass growing thick, fallen leaves or snow covering footprints, and fog or dusk limiting visibility. Which of the four groups would still help you? If all you remember is following paint blazes, consider what clues you would still have when the paint is hidden. Counting clues alone says little about safety. Two of them may draw on the same outdated information. Ask if what remains is enough to establish where you are and which way to go. If it is not, rethink the plan. What actually becomes obscured varies by area and year, so look for recent trail reports or information from the trail manager.
Put changes in terrain into words and compare them on the trail
YAMAP suggests describing terrain changes ahead of time so you can check them during the hike. Look up from your feet periodically to notice waymarkers, cairns and paint blazes. Where footing is poor, stop if needed to look around. Putting the terrain into words also helps you take stock of what you remember about a familiar route.
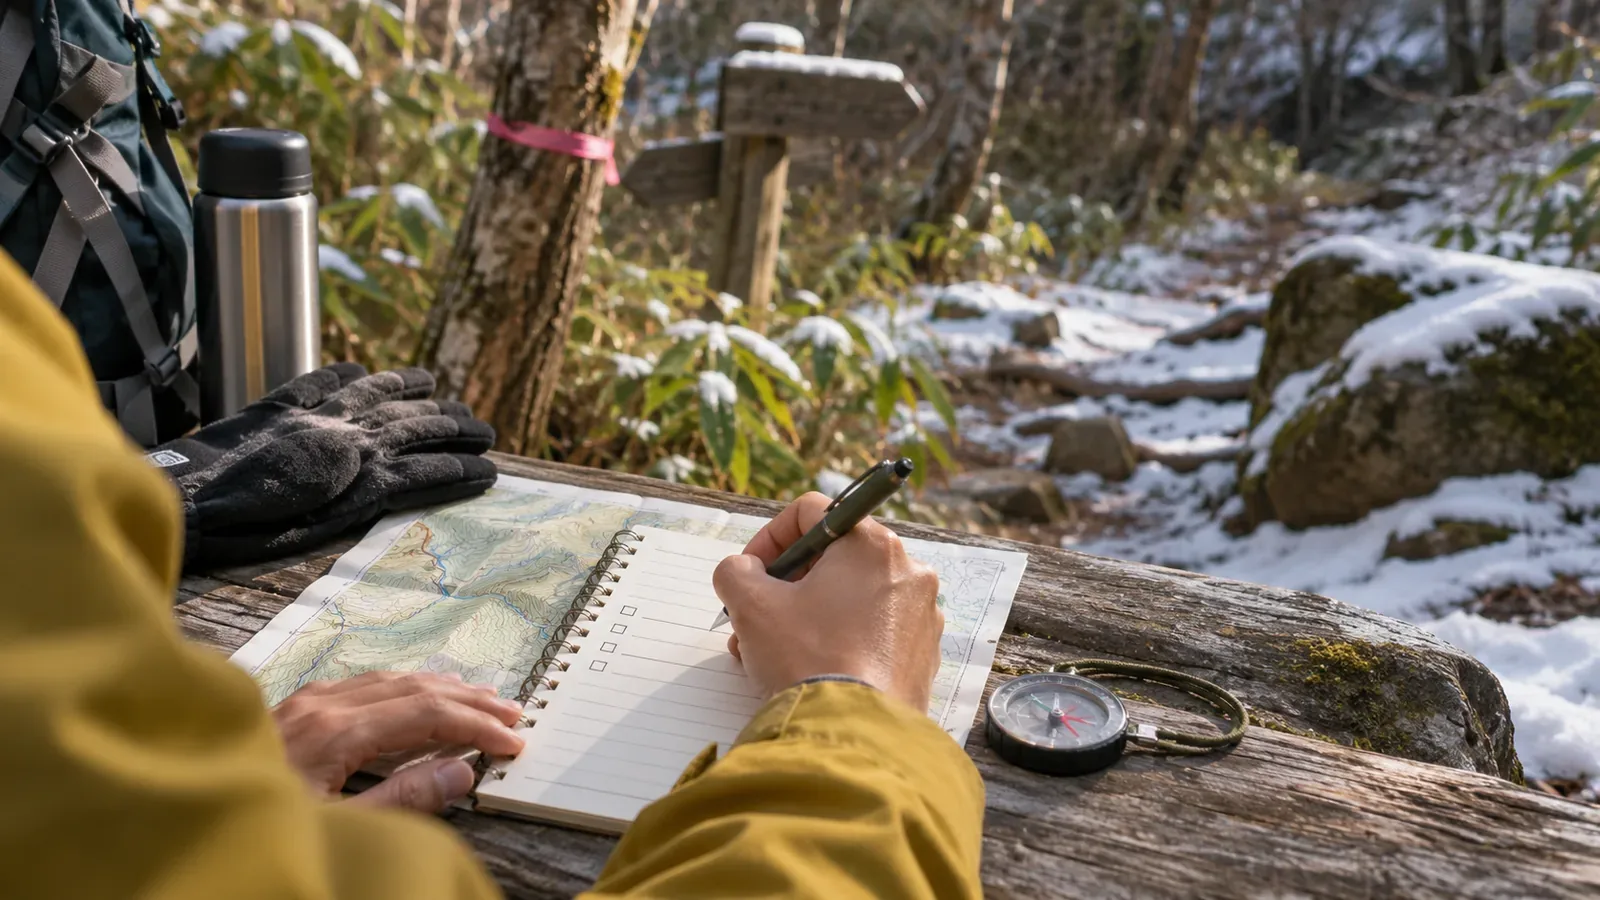
Try a three-line note at each junction or ambiguous spot. Line one describes the terrain, for example “turn downhill to the left just after leaving the plantation and reaching the ridge.” This is an invented example. Line two names the sign or marker to look for. Line three explains how you will check your position if unsure. Putting terrain, signage and a way to establish your position side by side helps you see what you might lose. The note does not replace map-reading skills or a check of current information. Keep a paper copy so you can refer to it if the app is unavailable.
If you hike with others, share the notes and divide up the checks. The Central Council for Mountain Accident Prevention's summer material names insufficient route study, leaving a map and compass behind, and weak map-reading skills as factors in getting lost. It asks the whole group to review the trip plan. The July 2019 document is intended for summer hiking. The notes are one way to put that shared review into practice.
When something feels off, establish your position and consider turning back
YAMAP recommends using a map or GPS app to check your position as soon as something feels off. Make sure your surroundings are safe and stop before doing so. The National Police Agency advises carrying a map and compass and checking your position throughout the hike. A hiking app used alongside a paper map can help you locate yourself more precisely. If you think you might be lost, avoid walking on blindly. Return to the official trail if you can retrace your steps safely and with confidence. Identify escape routes before the hike.
Before leaving, mark places where you will make a decision on the map so that at a confusing junction you can recall the last place you verified. Even if you have picked a point to return to, stay put if you cannot identify the way there on the ground. If the return is unclear or you cannot move safely, avoid wandering and call for rescue. Adjust your planned steps for the terrain and how you are doing.
Maps have limits too. In March 2018, the Geospatial Information Authority of Japan first published topographic maps with trail alignments corrected using movement data from hikers. The release covered main trails in Kamikōchi and the Yatsugatake mountains, including relocated trail sections that the maps had previously missed. That 2018 example concerns a specific release. It tells you nothing about the present state of your route. Since the trail can differ from what the map shows, compare the map with signs and terrain.
If you use a compass, check the magnetic declination, the difference between the north it indicates and the north on the map. The Geospatial Information Authority of Japan explains that it varies by place and over time. Look up local declination and magnetic north lines on the official map, and check the printed value and the reference year of the data. Use the value for your own area. If you are unfamiliar with the procedure, practise before leaving.
Cross-check the clues and stop if you cannot establish your route
Even on a familiar trail, separate the clues you remember into signs, trail markings, terrain, and ways to establish your position. Think about what each season or type of weather can hide. A three-line note can help you prepare. The number of clues and the presence of tape do not tell you whether it is safe to continue. Check where you are and which way to go. If you cannot confirm them, stop. Retrace your route if you can do so safely. If the return is unclear, avoid wandering and seek the help you need.
References and sources
- YAMAP MAGAZINE, Daisuke Washio — Skills and habits for avoiding getting lost
- National Police Agency of Japan — Overview of mountain incidents in 2024
- Central Council for Mountain Accident Prevention — Summer mountain safety notice and gear checklist (July 2019)
- Geospatial Information Authority of Japan — First topographic maps with trails corrected using movement data (March 7, 2018)
- Geospatial Information Authority of Japan — Making hiking maps easier to use (December 1, 2016)
- Geospatial Information Authority of Japan — Calculate geomagnetic values