
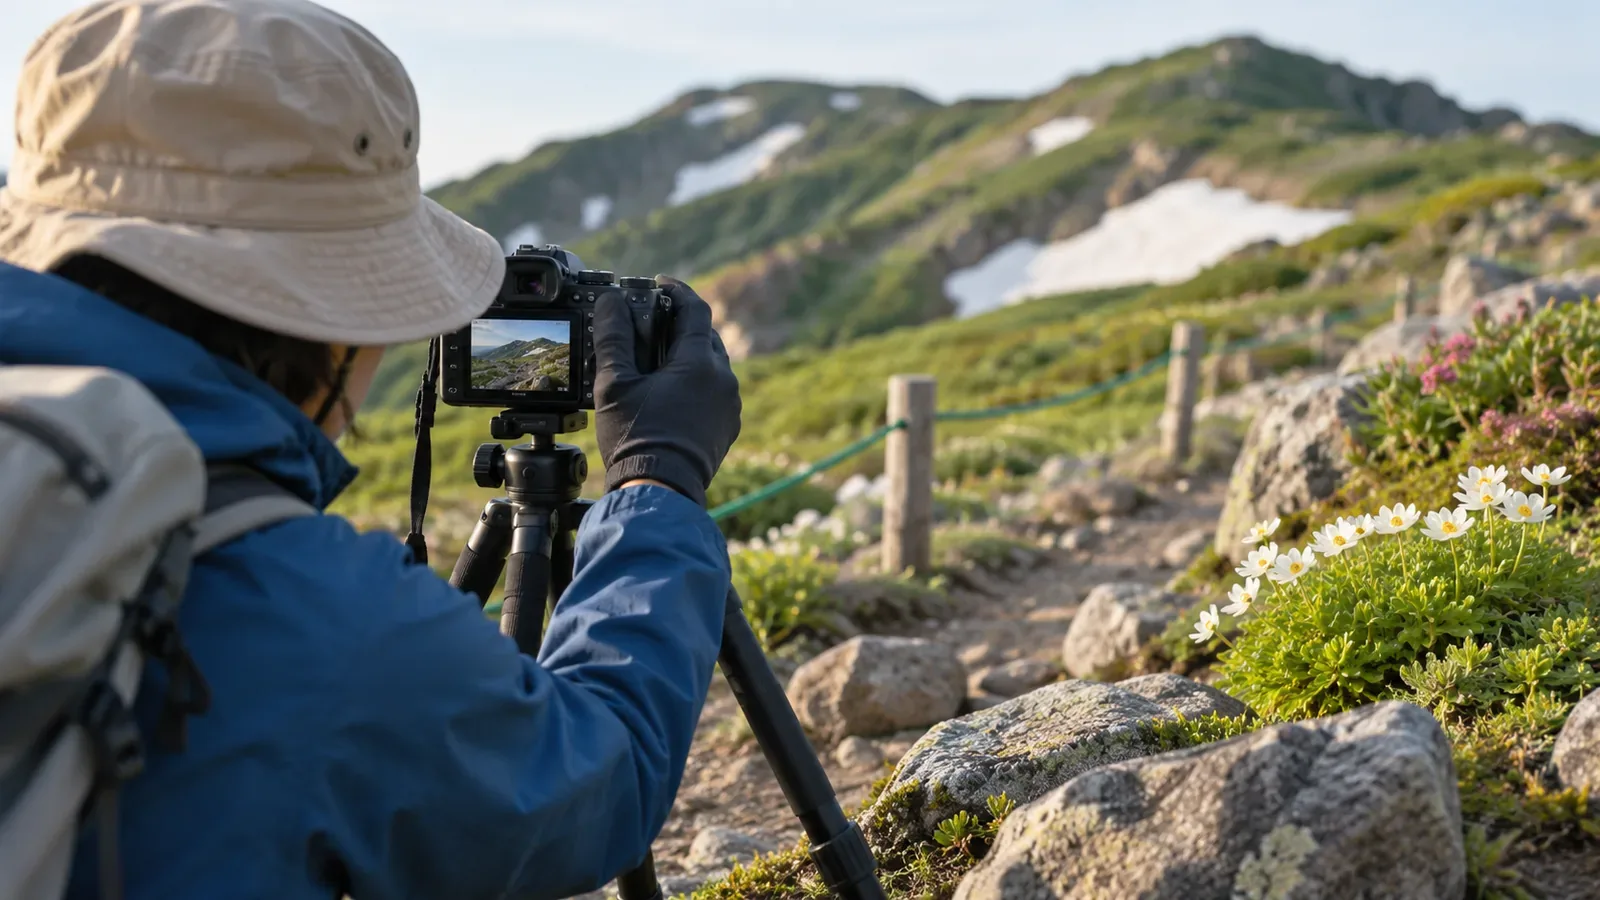
Photos taken from the same place and in the same direction each year can help you notice changes on a familiar trail. Stop to take photos only where you have stable footing and leave room for others. If there is no suitable place, skip the photo. Drawing on fixed-point photography in alpine research, here is a way to compare personal hiking photos. The comparison serves a different purpose from scientific monitoring.
What researchers do with a fixed camera
Japan's National Institute for Environmental Studies began long-term fixed-camera monitoring of alpine areas in fiscal 2011. Alpine ecosystems are vulnerable to climate change, and the project aims to understand how plants respond to weather and how their distribution changes. Most cameras are in the mountains of central Japan. They take photos every hour during daylight. Most images are transmitted over a network and stored on a server. Researchers can use the images to identify snow accumulation and melt, leaf-out and autumn colour. Public examples include views of the Karasawa snow patch from 2013 to 2026.
An institute article from December 2011 described an early setup with automatic cameras at several mountain huts, transmitting photos over long-range wireless networks. The cameras were placed where snow would not cover them in winter and were configured to take and send a 5-megapixel still image every three minutes. The article also said that short observations make warming effects difficult to distinguish and called for several years of monitoring and field surveys. This describes the setup at the time.
Safety takes priority over keeping a photo series going. The U.S. National Park Service advises keeping away from cliff edges, avoiding walking backward while composing a shot, and leaving room for others to pass. Stay away from closed areas and places where footing has changed, even if that means missing the same viewpoint. Treat each planned photo stop as optional based on conditions.
How fixed cameras and handheld photos differ
A fixed research camera keeps the position and frame the same and takes photos at set intervals. With a handheld camera, your position, direction, height, time of day and weather can all vary. If those differences are large, it can be hard to tell whether the trail or vegetation changed or you simply took the photo differently. Check the conditions of the shot when comparing images.
One hike a year gives you separate snapshots. Frequent images let researchers see when snow melts or leaves turn colour. One photo a year shows the scene at that particular moment. A photo may show damage to the trail surface. It cannot establish the cause, the extent beyond the frame, or whether the trail is safe or open today. Check current information from the trail manager or local authority.
Choose viewpoints and decide what to write down
Choose just a few places on the trail where the ground is wide and stable and you can stop without blocking others. Use features that are unlikely to move, such as a junction, bench, sign or large rock. Write the location and landmark on paper before you go. Skip angles that require leaving the trail, unstable spots and crowded places. Record the position on the map and the surrounding scenery as well, since a marker may be moved or removed.
Record the date and time, weather, the landmark at your position, the direction you face, such as toward the summit or back along the trail, and one rule for how you hold the camera, such as taking the photo standing at the same height. Choose subjects you can describe later, such as a sign, the trail surface, autumn colour or remaining snow. An annual hike will rarely fall on exactly the same day. The date and weather help you consider seasonal or weather differences, though they may not identify the cause.
On the day, stop before taking a photo or using a screen. At each viewpoint, check your footing and surroundings. Skip the photo if the weather or time leaves too little margin or the trail is too crowded to stop. Turn back if needed. Make a note when you skip a photo. It will help explain why the conditions or the set of photos differ the following year.
Compare photos at home and use them to plan the next hike
Look at the differences in three ways. Consider how the season, weather or time of day affected the view. Check whether a sign, the trail surface or the nearby terrain might have changed. Then look for differences in your position or camera direction. Confirm possible changes to the trail in the latest notices from the manager or local authority. If the viewpoint often varies, choose a clearer landmark for next time.
If a sign looks as though it has moved, compare the shooting direction and landmarks first. If you find a notice about a relocation or detour, record the date and section. If you cannot establish what happened, “the position looks different, reason unconfirmed” is enough. Avoid roaming around or entering closed areas to match an old photo.
The National Police Agency's 2024 report recommends allowing time to spare, identifying hazards and escape routes, and preparing, sharing and filing a trip plan. The editorial suggestion is to add any place that looked different to the checks for your next plan. A GPS-equipped phone can help you call for rescue, but network coverage and battery life are limited in many mountain areas. If you take photos on your phone, save enough battery to communicate and review the photos after you get down. If you suspect you are lost, stop and check your position. Retrace your steps if the return is clear and safe. If you cannot move safely, prioritise calling for rescue.
Use the same viewpoint and let the photos guide your questions
Fixed cameras reveal changes by returning to the same view over time. In your own photos, a consistent landmark and direction and notes on the date and weather make it easier to describe what differs from last year. Use the photos to decide what to check in current official information and what to revisit in the next plan. Establish today's safety from current conditions and notices. Take photos only where you can stop safely. If something still seems wrong, check your position and decide whether to stop the hike or request rescue before taking another photo.
References and sources
- Japan's National Institute for Environmental Studies — Monitoring the impact of climate change in alpine areas
- Japan's National Institute for Environmental Studies — Monitoring alpine vegetation (December 2011)
- U.S. National Park Service — Keep Safety In The Picture
- National Police Agency of Japan — Overview of mountain incidents in 2024