
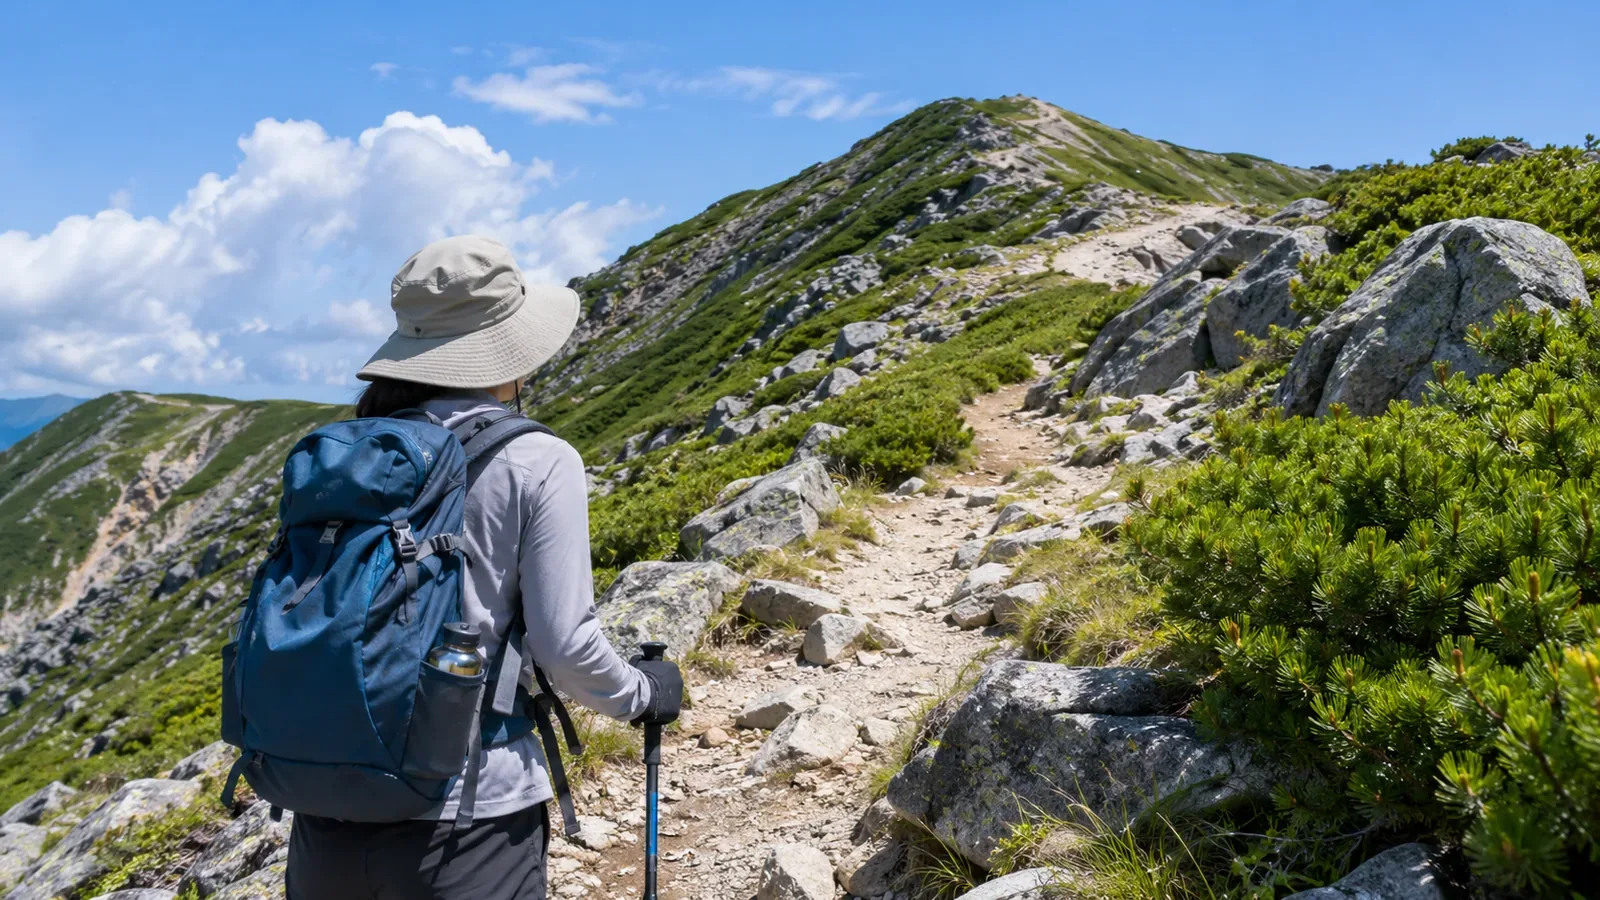
To look for stretches with little shade, identify potentially open terrain on a map, then compare photos whose shooting conditions you know with the time you expect to pass. The exercise cannot tell you exactly where shade will fall that day. Mark uncertain stretches too and use the research to prepare for a route without shade.
UV reaches shaded places too
Japan’s Ministry of the Environment explains that scattered radiation and ground reflections reach shaded areas even without direct sun. The handbook illustrates shade with 50% of the exposure in direct sun, but that figure cannot be applied to every tree or rock shadow. Darkness or coolness alone tells you little about UV exposure.
The handbook also notes that infrared radiation feels warm, while you cannot sense the UV that causes sunburn. A cool ridge can still expose you to strong UV. Exposure adds up over the day, and breaks do not guarantee you will avoid sunburn. Consider the whole itinerary.
Noting how open each section is and when you will pass helps you plan breaks and places to adjust clothing. Shade helps you avoid direct sun, and UV protection remains useful there. The table is a planning aid to help you remember your protection.
Translate the factors affecting sunlight into features on the map
Start with elevation. The ministry’s handbook puts the increase in UV at 10–12% per 1,000 m of elevation gain. The Japan Meteorological Agency uses a representative elevation for each forecast cell, roughly 20 km square. In a cell that includes plains and mountains, the figure generally represents the plains. Our editors therefore expect the UV higher on the mountain could be stronger than the map shows. Read and note the highest elevation of each section.
Consider ground reflection from snow and other surfaces. The ministry’s figures of 80% for fresh snow and 10% or less for bare soil illustrate differences between surfaces. They do not give the exact reflectance of a slope. Use the map to identify possible snow cover and check recent reports from mountain huts or land managers and dated photos. Map symbols alone cannot tell you whether snow remains that day.
Note when you expect to pass. UV is generally stronger around solar noon, but clouds and other factors can change that. Check UV information by hour and avoid relying on a fixed window. For long stretches, note when you expect to enter and leave to see what hours you will be outdoors.
The weather agency estimates that thin cloud allows the average UV index to remain around 80–90% of its cloudless value. Depending on the clouds, the index can even rise above it. Compare the weather-adjusted and clear-sky forecasts and keep your protection for exposed areas even when the forecast is cloudy.
The agency calculates its figures for cells roughly 20 km square, so its maps do not show shade from trees along a trail. Maps and photos help you understand terrain and surroundings. Even with forecast figures, they cannot give an exact UV dose for each stretch.
Mark sections that are likely to be exposed
Our editors suggest a method that works with a paper map or an app. First, divide the itinerary into sections. Use trailheads, junctions, summits and possible rest spots as boundaries, so you can estimate the walking time and elevation difference for each section.
Check terrain and vegetation symbols against the legend and look for stretches that may have an open sky, such as treeless ridges and broad rock slabs. A lack of vegetation symbols does not establish that there are no trees. Mark sections as unknown when information is missing. The Geospatial Information Authority of Japan’s hillshade layer uses simulated lighting to show landforms and cannot tell you where the sun will cast shadows that day.
Write down the planned time for each section and check how open it is, whether there may be snow and whether you will pass when UV is strong. High elevation or a midday passage alone does not establish that a section has no shade. Focus on what each piece of information tells you and what is missing, without trying to turn them into a score.
First check that rest spots are on the trail, have stable footing and leave room for others to pass. Then look for shade. If the season or time differs from your planned passage, treat shadows in photos as tentative. Use breaks to adjust your hat and clothing or reapply sunscreen, and keep protection on in the shade.
The WHO recommends taking particular care at a UV index of 3 or higher. Combine shade, clothing, a hat, sunglasses and sunscreen, and plan to spend less time exposed when UV is strongest. Prepare before departure and make adjustments at safe spots instead of waiting until you are already in the exposed section.
Check photos for shadows and how much sky is visible
Photos can help you check what the map suggests. Sort your own past photos and other people’s hike reports by section. Look for three things: whether tree or rock shadows fall continuously across the trail, how much sky is visible, and whether there are wide expanses of snow or light-colored rock. If you know the shooting time, note the season and time in the table.
A photo records one date, time, season and direction. Changes in foliage or the sun’s position can change shadows at the same spot, and you cannot see outside the frame. Use the photos as clues to how open the terrain is. They cannot tell you the UV level on your hiking day.
As a practice exercise, pick two or three photos of the same stretch and see where they differ from your reading of the map. Check whether you misread the legend or the photos were taken in different conditions. This can show patterns in how you interpret the map.
During the hike, take notes from a safe spot so you can use them when planning next time. You cannot feel the strength of UV. Write down what you observed and the time, such as «open», «continuous shade» or «snow-covered».
In short: put sections, times and conditions on one sheet
Laying out the sections, passage times, terrain and vegetation shows where to think about protection. Maps and photos cannot guarantee there will be shade on the day, so keep protection in your plan even when some details are unknown.
In your table, record the section, elevation, openness, expected passage time and conditions when the photos were taken, then check the day’s UV index. Japan Meteorological Agency archives contain station measurements and analyses calculated for cells of roughly 20 km square. Monthly and annual charts for 56 locations around Japan help you understand seasonal patterns. They do not show shade along a specific trail on the day.
Use the table to guide preparation and adjust the itinerary and breaks based on how you feel and the conditions on the day.
References and sources
- Japan Meteorological Agency: Guide to UV Information
- Japan Ministry of the Environment: UV and Environmental Health Handbook 2020
- Japan Meteorological Agency: Clouds and Ultraviolet Radiation
- WHO: Radiation — Protecting against Skin Cancer
- Japan Meteorological Agency: UV Data Archive
- Geospatial Information Authority of Japan: Hillshade Map