
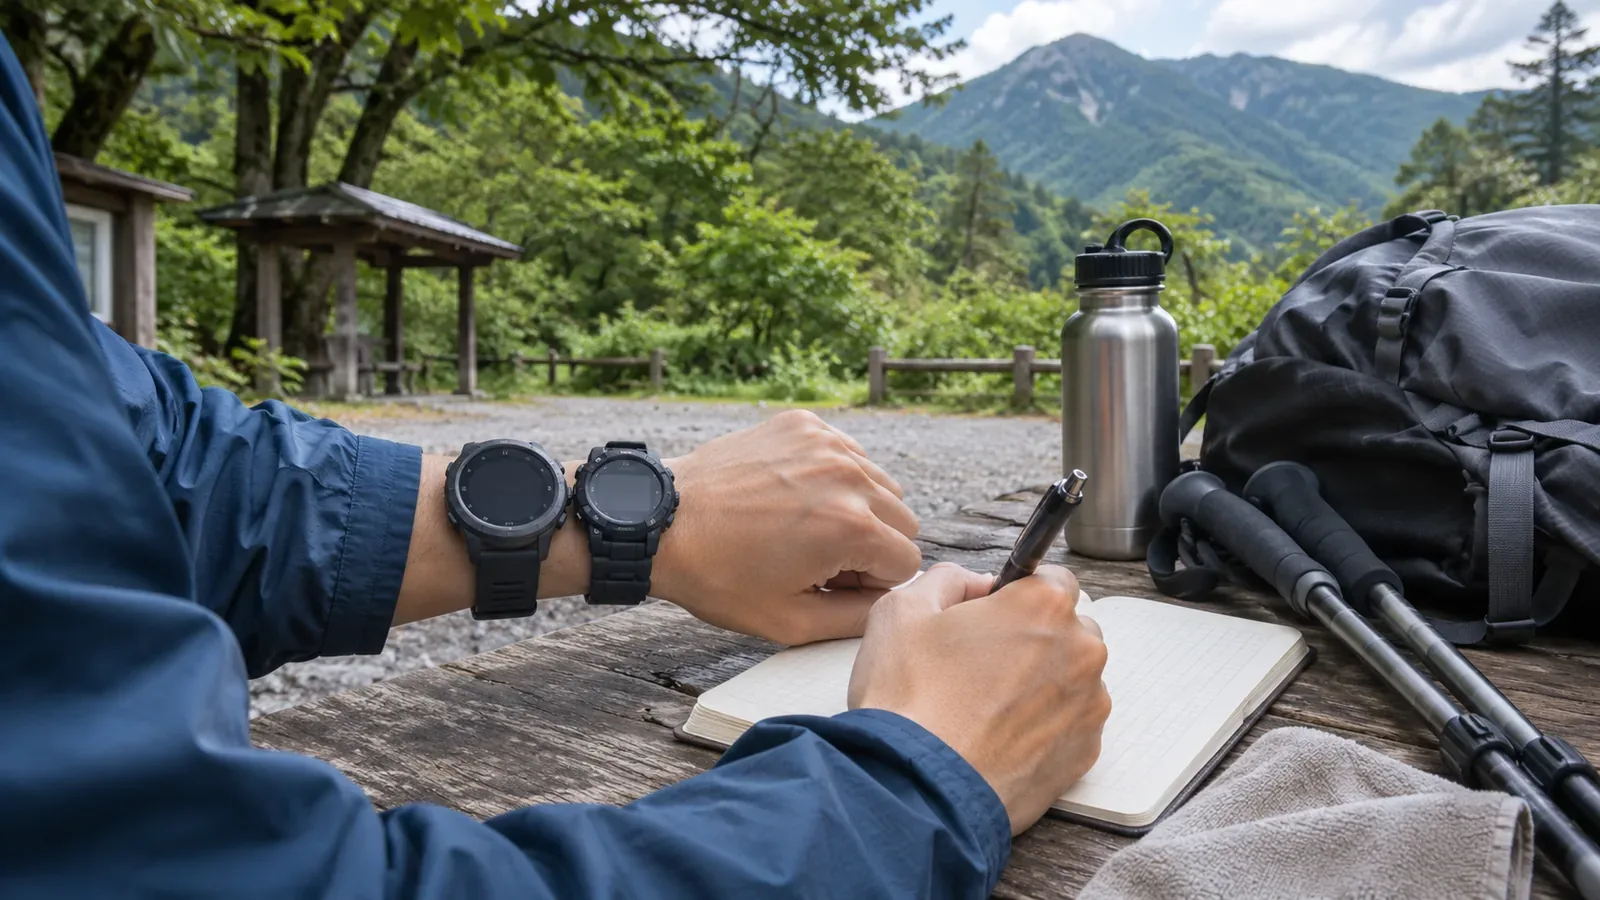
Some hiking watches that measure temperature also estimate elevation from air pressure. Before leaving, distinguish setting a reference elevation from calibrating the pressure and temperature sensors themselves. We use the manuals for the Garmin fēnix 7 and 9 and CASIO module 5463 to show what to check and what to record. Follow the manual for your own model, as settings and menus differ.
What a barometric altimeter displays
A barometric altimeter converts a pressure-sensor reading to altitude. CASIO’s module 5463 guide says Altimeter Mode calculates relative altitude from pressure. As pressure changes, the display can change at the same place, and the value may differ from the actual or posted elevation above sea level. Garmin’s fēnix 9 manual likewise describes an approximate elevation based on pressure changes.
Check the reference for pressure readings too. Garmin says the fēnix 9 displays pressure data based on the fixed elevation where the altimeter was most recently calibrated. The Japan Meteorological Agency uses sea-level pressure on weather maps, converting observations to the equivalent at sea level. Station pressure is measured at the site. Even with the same unit, check the reference elevation before using a weather map value to adjust the watch.
The fēnix 9 collects elevation and pressure data continuously, even in low-power mode. The guide describes the data the watch collects and leaves the number of physical sensors unspecified. As the data can reflect more than the moment you check the screen, see how automatic calibration and sensor mode are currently set.
Calibration defaults vary by model
The fēnix 7 is factory calibrated and by default automatically calibrates at the GPS starting point. Auto Cal. controls automatic calibration. From Calibrate, you can enter a known elevation, use a digital elevation model (DEM) or obtain elevation from the GPS position. Record the automatic setting and the elevation source you used separately.
The fēnix 9 is also factory calibrated and uses automatic calibration at the GPS starting point by default. You can calibrate manually if you know the elevation. CASIO tells hikers using module 5463 to calibrate regularly to local elevation information. The CASIO manual also says the measurement features are intended to give approximate readings and do not meet the precision required for professional or industrial measurements.
For the fēnix 9, Garmin says Auto Cal. calibrates when satellite systems are used. Sensor Mode controls something else: Auto uses altimeter and barometer according to your movement, Altimeter Only is for activities with elevation changes and Barometer Only is for activities without elevation changes. Check which is set on your watch and consult the manual for its behavior.
CASIO module 5463 describes calibrating pressure and temperature sensors separately from setting reference altitude. The pressure sensor is factory calibrated and normally needs no further adjustment. Incorrect calibration can cause erroneous readings. Avoid changing its settings simply because the altitude differs from the map. When adjustment is necessary, follow the manufacturer’s method with a reliable reference instrument.
Plan your checks before leaving
The editors suggest the following record. Its purpose is to retain the reference, readings before and after calibration and adjustments made along the way. Use the manufacturer’s schedule and standards for calibration.
The day before, check the manual for reference elevation, automatic calibration, the type of pressure displayed and sensor mode. At the trailhead, stop somewhere safe and note the known elevation and the reading before calibration. Confirm that the posted elevation refers to that exact place. Follow the manual and record the method and time. If the elevation is unknown, avoid entering a guess and check what sources your watch supports.
If you recalibrate during the hike, stop safely at a point of known elevation and note the method and time. Avoid operating the device while walking. On a return to the same trailhead, record the display again. Any manual or automatic calibration along the way means the difference at the end includes those changes. Prioritize finding your location and using the instrument correctly over making comparisons.
One line is enough for the date, model, calibration method, before and after readings, posted elevation and what it refers to, time, and return reading. Make a blank card at home and fill in what you can from the manual, so there is less to check at the start. Keeping the pre-calibration difference, the post-calibration reading and the return reading helps explain what changed at the start and during the next half day or day.
Review the readings afterward and understand their limits
A different reading when you return to the same place does not necessarily indicate a fault. As CASIO explains, a change in pressure alone can change altitude. Check for recalibration or mode changes and note the conditions when you saw a difference. Follow the manufacturer’s advice on regular calibration, even if the error still seems small.
Comparing automatic and manual calibration on different days cannot establish which is better because weather and satellite conditions differ. Use the notes to review how you used each feature. Testing accuracy requires a suitable reference and controlled conditions. Avoid changing settings repeatedly on a hike to get a number that looks right.
Use the altimeter as a guide. If it seems to disagree with the topographic map, stop somewhere safe and compare the two. If you are still unsure, consider turning back from a safe spot or stopping before you go farther. Use more than the instrument’s reading to decide whether to continue.
Temperature sensor calibration is also separate from pressure adjustment and reference altitude. CASIO’s temperature instructions call for removing the watch and letting it reach the surrounding temperature in a ventilated place out of direct sun. Avoid adjusting the sensor just because a reading near your body differs from the forecast. Check the measurement conditions before making settings changes.
In short: record the reference and calibration, and use the reading as a guide
A barometric altimeter’s display depends on changes in pressure and the last reference elevation. Before the hike, check your model’s calibration method and pressure reference. At the trailhead, stop and note the readings before and after calibration, the method and time. On return, note the reading at the same spot and use the difference when thinking about how often to calibrate, within the manufacturer’s instructions. Avoid making adjustments while walking. If the watch and map disagree, stop somewhere safe to compare them and leave room to turn back if you are still unsure.