
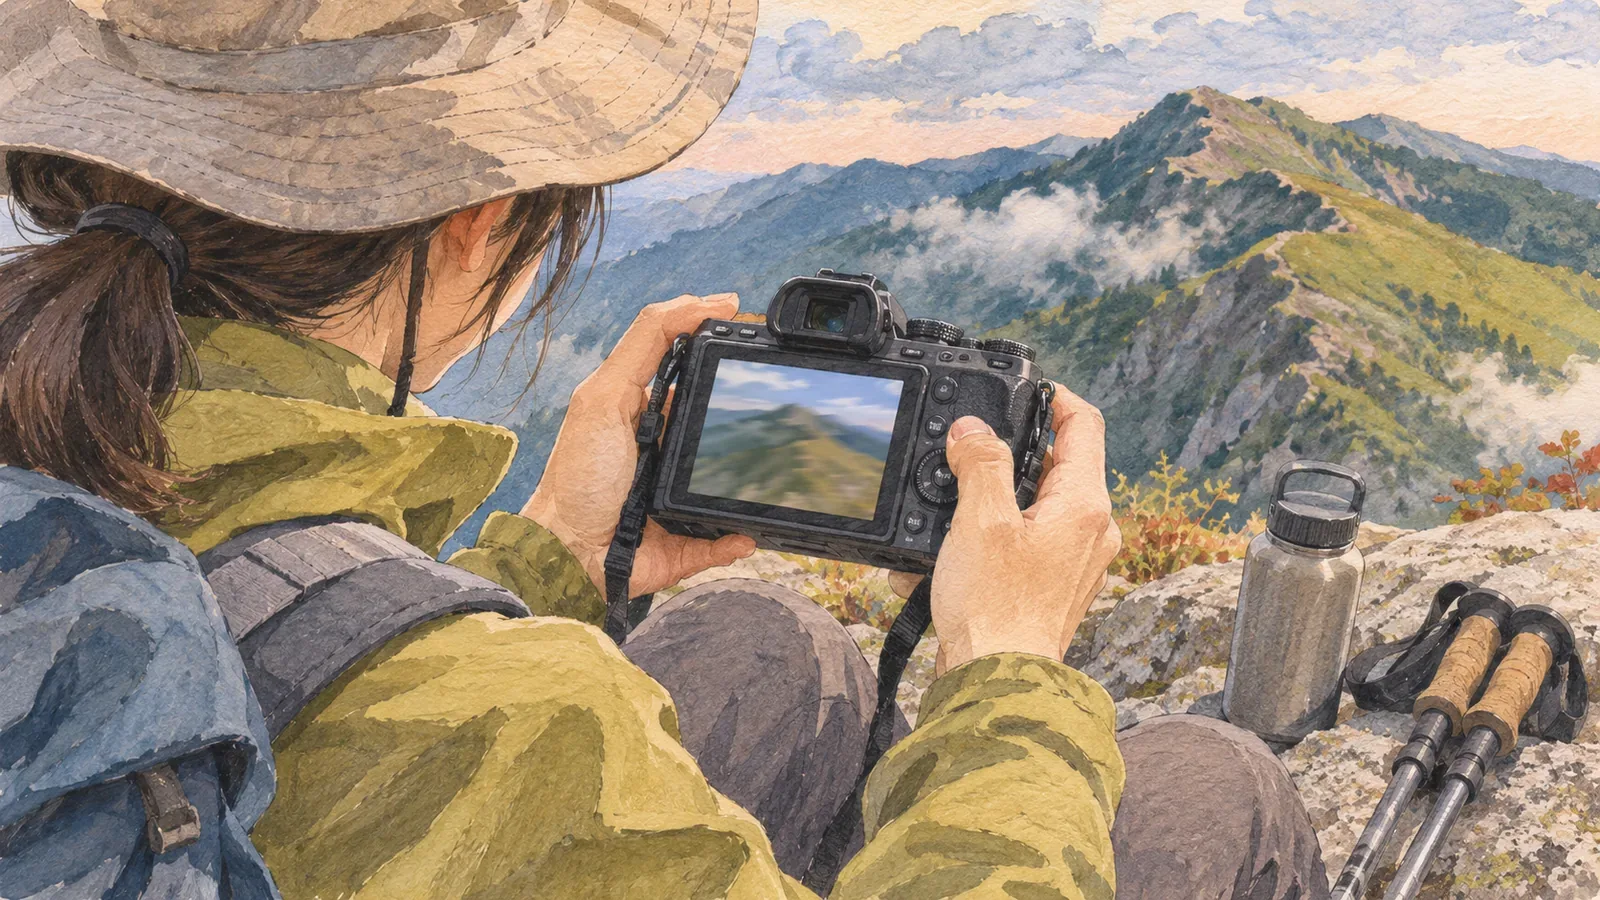
When you look through your photos at home, you may notice a mountain flower looks blurry or a view came out darker than you expected. Before deleting it, pick one photo and consider what bothers you and what you might change next time. Take one question into your next shoot and compare the results. This makes it easier to find what works for you than changing several settings at once.
Start with one photo that bothers you
Choose a photo where you can remember what you wanted to capture and describe what came out differently. For example, “I photographed the flower, but its petals aren't distinct” or “I exposed for the bright sky and the person in the foreground looks dark.” Writing down what you wanted the photo to look like gives you a starting point for the next attempt. For a summit group photo, you might have wanted brighter faces, a clear view of the mountains behind them, or both. Pick one aspect to review first.
Look at the photos you took just before and after it. If you took several in the same place, compare whether only one is blurred or whether they look alike. Briefly note what you remember, such as whether it was windy, whether you had just stopped walking or where you intended to focus. Mark anything you are unsure of as a guess.
Keep the unedited original so you can review the camera settings later. The US Library of Congress guide for personal photos describes organizing, copying and storing them. One option is to import and back up the files before sorting and keep the original shots you want to compare.
Look at the blur for clues
A photo can look blurry for several reasons. Canon's glossary distinguishes camera shake, caused by camera movement, from motion blur caused by the subject moving. Nikon's examples show camera shake affecting the whole frame and subject movement blurring the part that moved. Look at whether the flower alone looks streaked or whether the background is blurred as well.
One image may not reveal the cause. The focus point, motion and lighting can all play a part, so keep your observations about the image separate from what you remember. A photo may look different enlarged than it does on a small screen. Note the part that caught your eye and look at both the whole frame and a close-up. For instance, write “the background looks fairly sharp, the flower appears streaked, and I don't remember whether it was windy” to record what you know.
If the image contains camera settings, check details such as shutter speed. On the Nikon Z f, for example, use the DISP button to cycle through displays during single-frame playback. The exposure information shows shutter speed, aperture and other settings. You may have to enable the information you want to see, so check your camera's manual. Nikon explains that slower shutter speeds make blur more likely, but the right speed depends on the subject and conditions. Choose a setting for each scene.
Choose one setting to try next
If blur is the issue, you could change just the shutter speed next time. For a flower moving in the wind, find a safe place to shoot and take one photo at your original speed and another slightly faster. Compare the flower and background. It is a way to practice, and the faster speed may or may not give you the look you want.
If brightness is the issue, check your camera's manual for exposure compensation and compare settings on the same scene. Canon's glossary shows a flower photographed at different exposure compensation settings. Look at how the brightness changes and pick the version closest to what you wanted. If you are working on focus, check where the camera focused and try the shot again. Write down what you changed and consider which other conditions may have differed.
Changing one setting can affect other parts of the image. As well as looking at whether it became brighter or less blurred, consider whether the overall image matches what you wanted. Check the manual for your model's controls and how they interact with automatic settings. You can try this near home so you know the controls before a hike. Note your current settings before practicing so you can restore them if needed. If you use an automatic mode, start by finding out which settings your camera lets you adjust.
Use what you learn in your next comparison
After trying a setting, keep brief notes with the images on what you wanted to capture, what you changed and what looked different. For example, “photographed a flower; its outline was clearer at the faster shutter speed.” If the wind or distance changed, note that too. View the images at the same size and keep the timestamps and settings with them to avoid mixing up the comparisons later. Other conditions may have contributed to the result.
If you cannot see a difference, note that too. You may not have been able to reproduce the same lighting or subject motion. Next time, you can narrow the conditions for the comparison, such as photographing something stationary from the same spot. Leave yourself a question you can test again.
On the mountain, watch your footing, leave room for others on the trail and stay with the group's schedule. Choose a place to stop, and cut the shoot short if time is tight. You can pick a photo at home and practice in a safe place nearby before taking the setting on your next hike.
Summary: one photo, one change to try
Choose a photo that came out differently from what you hoped. Write down what you wanted to capture and what bothers you. Compare adjacent photos and camera settings before drawing conclusions.
Next time, change one setting and briefly note the conditions and results. Keep the original photo and practice where you can stop safely.