
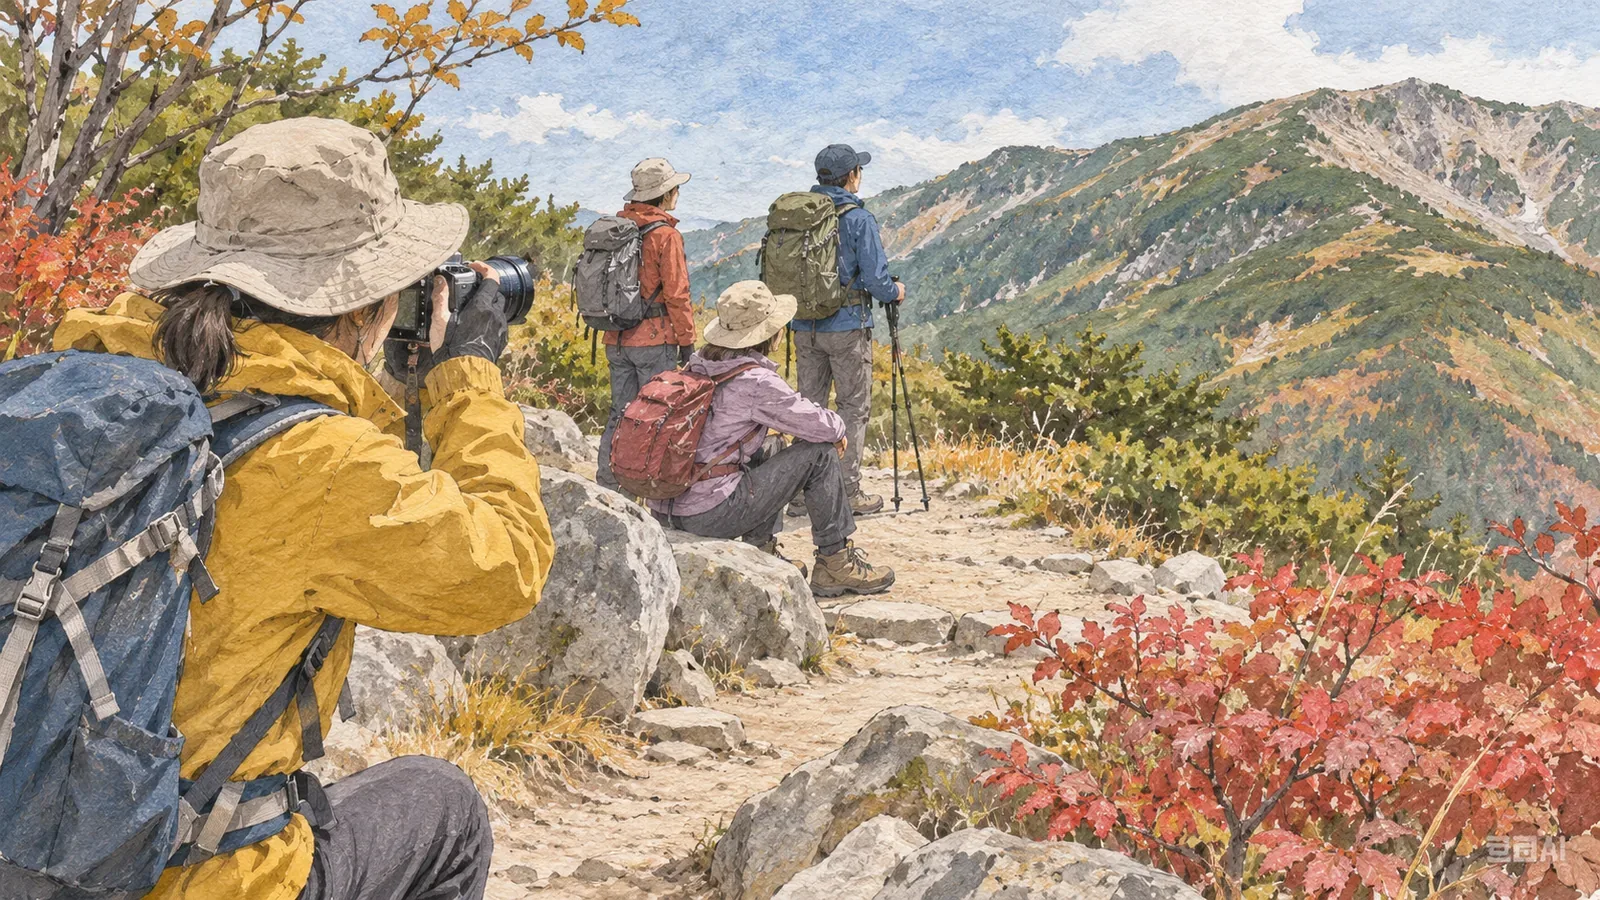
Give everyone a chance to plan for photo stops as part of the hike. Agree on where you want to take photos, roughly how long to stop and how to signal before stopping. That makes it less likely that the photographer will be left behind or that others will carry on without knowing why someone stopped. Allow for skipping a photo when there is no safe place to stop or time is tight.
Estimate walking and stopping time separately
The US National Park Service advises letting the slowest person set the pace and staying together throughout the hike. Staying together makes it less likely someone will get lost and lets the group help if someone gets hurt. The same guidance asks you to budget for both the outbound and return legs, keep track of departure and turnaround times, and set and stick to a turnaround time if the hike is taking longer than planned. Japan's National Police Agency also recommends allowing enough time for breaks and identifying alternative ways to descend in advance.
If you use time estimates from a map or app, check the service's guidance to see whether they cover walking only or include breaks. Add photo time if it is missing, and count any breaks already included only once. When a photo stop doubles as a break, check that the people taking pictures have had time for food, water and gear adjustments. Taking photos may leave little time to rest.
Three ways a photo stop can become a delay
The main concern is keeping track of where everyone is and knowing who stopped. It helps to agree on signals and where to wait before leaving, especially in the following three situations.
First, the group may spread out. If a photographer stops and the leader keeps going without noticing, the distance grows. The Appalachian Trail Conservancy advises waiting for everyone at junctions, and the National Park Service recommends staying together throughout. Agree to call out before stopping.
Second, the role of the person at the back can become unclear. The Appalachian Trail Conservancy recommends having a leader at the rear. When a photographer stops, tell the person at the front so the rear leader does not also walk on and leave the photographer alone. If there is no safe place to wait together, skip the shot. When the role changes hands, tell everyone first.
Third, several people may want to take photos at different places. The time needed depends on whether everyone stops together or there are several stops. Compare the places people want to photograph and put them into one plan for the group. Ask people who are not taking pictures about their breaks and plans for the return. A larger group does not always add the same amount of time.
Five things to agree before leaving
Before leaving, agree on places to shoot, time, conditions for stopping, signals and how photo stops fit with breaks. Set the time according to the route and what people want, and share the upper limit and when to skip photos.
First, mark possible photo spots on a map everyone can see. People who will wait can anticipate where the group might stop. Second, agree on the number and total duration of photo stops. At each stop, the person taking the photo says how long they need.
Third, agree where it is safe to stop. The National Park Service's photo safety guidance advises watching your footing while walking, keeping passages clear and avoiding cliff edges and walking backward. Stop on stable ground where you will not obstruct others. Skip the photo if you cannot find such a place, and stay out of unsafe positions when framing a shot.
Fourth, agree on the signal before stopping and where others should wait. Make sure the people at the front and back hear the signal and the photographer stays with the group. Fifth, allow separate break time for anyone who cannot take photos and eat or drink at the same time. Check that everyone is ready and feels well before setting off. Agree explicitly before anyone moves on during a photo stop.
Work back from your finish time to see how long you have for photos
Start by estimating walking time for the outbound and return legs separately. Add breaks, photo stops, navigation checks and a buffer, then see if you can finish within the planned time. Allow enough time to get back in daylight and set a turnaround time. At each point, compare your outbound progress with the time needed to return safely from there.
If the timing does not work, discuss cutting photo stops, shortening the hike or planning a separate photography outing. Great Smoky Mountains National Park warns that a short trail can still be difficult or take longer than expected. Consider terrain, elevation changes and the group's pace when working out how much time you have.
Agree in advance to end the photo stop and reassess when the allotted time runs out or the turnaround time arrives, even if you have not finished shooting.The same park guidance advises turning around if the route is harder than expected or beyond what someone in the group expected. The agreement keeps the wish to finish a photo from delaying that decision. Japan's National Police Agency recommends sharing the trip plan with companions, family and your workplace. Add the time set aside for photos and the turnaround time to the same plan so everyone you share it with knows.
Summary: plan to get back safely with photo stops included
Agree as a group on places, timing, stopping conditions, signals and how photo stops fit with breaks. Add walking both ways, breaks and photography to estimate the finish time, then set a turnaround that leaves enough time to get back. On the day, skip photos when you cannot stop safely, check where everyone is and stay together. Give priority to secure footing, everyone's condition and getting back in daylight.