
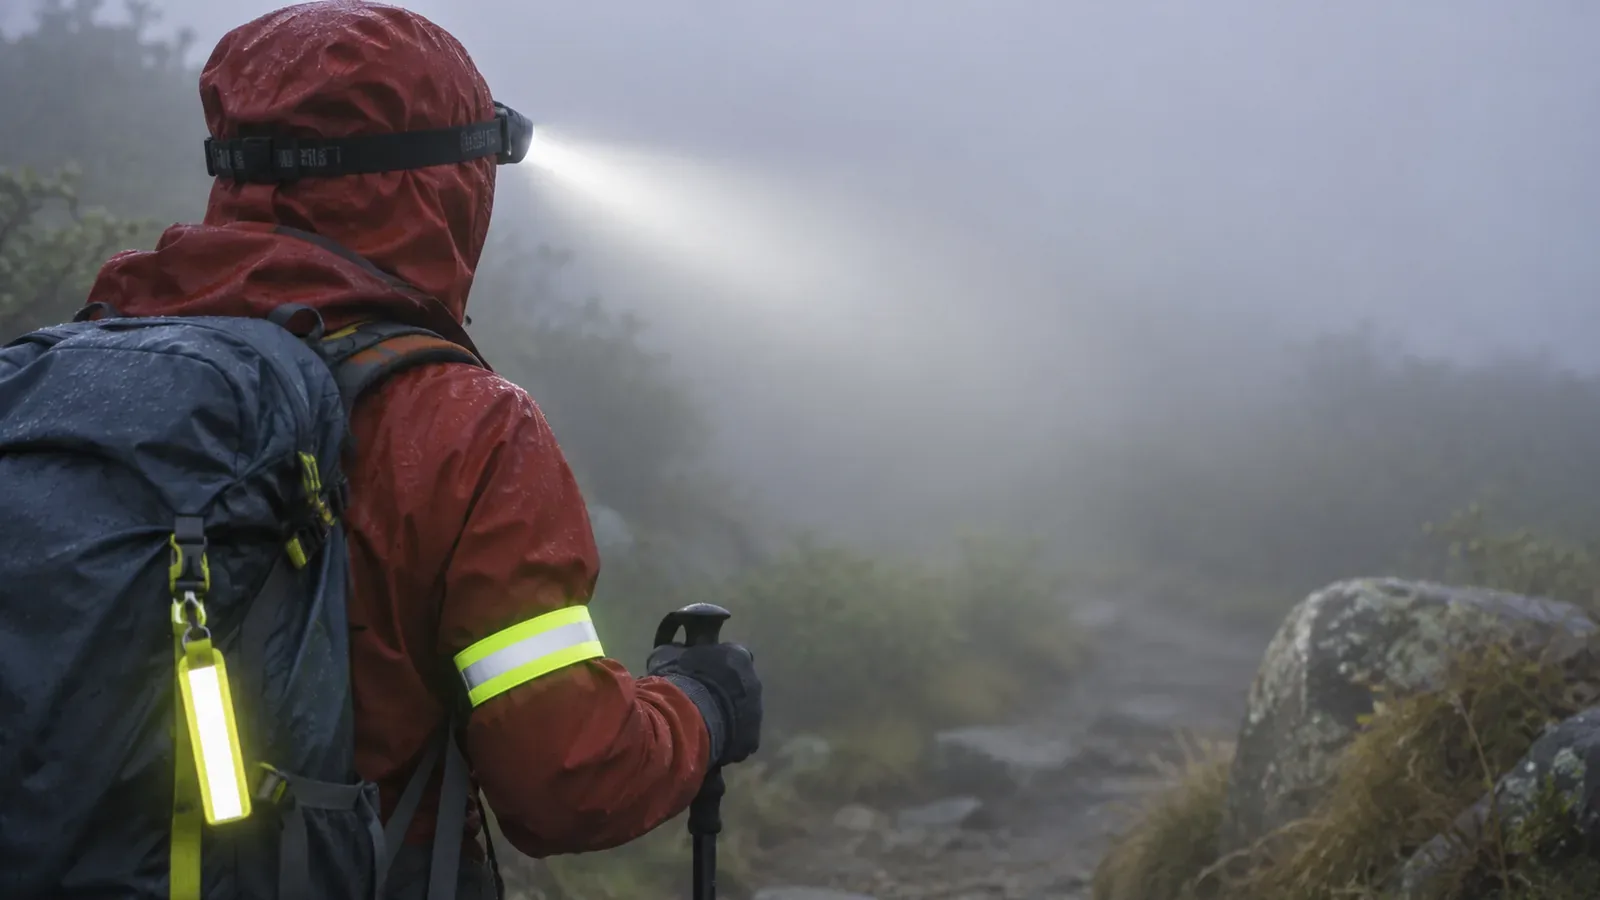
A light in fog may illuminate little beyond your feet. Reflectors look different depending on angle, distance and background light. Before leaving, check the equipment and try it with your hiking partners in a safe place so you know its limits.
How lights and reflectors work
A lamp lights the ground and surroundings. As 3M explains, retroreflective material sends light that strikes it back toward its source. A reflector needs light to reach it, and its visibility depends on where the light and observer are and whether anything covers it. A visible reflector doesn’t tell you whether you can see the route or footing.
The Japan Meteorological Agency defines fog as suspended droplets reducing horizontal visibility below 1 km. Fog can vary in density and limit visibility differently by direction. A lamp or reflector may still leave hazards and the route ahead hidden.
Transport Canada tells drivers to avoid high beams in fog, rain or snow because light reflected back can make roads and obstacles harder to see. That guidance applies to vehicles. For hiking lamps, check what you can see with the particular equipment and conditions.
Try the equipment in a safe place
Before hiking, check the lamp and reflectors you plan to use in a safe place without traffic or steps. Attach the reflectors to your pack or clothes according to instructions, then vary the distance and angle while you can still see and communicate with each other. Keep strong beams out of people’s eyes. You can do this without seeking out dangerous fog.
Try different distances and angles to find where the reflector is easier or harder to see. At home, you can check that it’s uncovered and that the lamp works, even without fog. Use the trial to check your setup. It can’t measure how far away someone will see it in mountain fog.
Check battery charge, spare power and how to switch modes. If you expect to wear gloves, try changing the switch and angle with them on. Follow the manufacturer’s instructions for use, water resistance and storage.
Check what the beam actually lights on the trail
In fog, even a bright beam pointed far ahead may give a poor view. Adjust angle and brightness within the lamp’s settings so you can check the ground and surroundings. The effective setting depends on the lamp and conditions.
You may see someone’s reflector without seeing the route to them. Check your footing and terrain before moving and stay on the trail. Agree on spacing and calls in advance so you know where everyone is.
Pack covers and rainwear can hide reflectors. Try all the gear together and check where the reflectors sit. Before leaving, check that the visible surfaces are clean and the attachments secure.
Reassess the route when visibility drops
In dense fog, a lamp may still leave you unable to check the route or footing. Japan’s National Police Agency warns that poor visibility can lead to getting lost and advises against pressing on blindly. Stop safely, compare map, compass, signs and position data, and share your location. Check the way back and consider whether you need to wait or call for help.
Before setting out, check sunset and plan to be back at a safe point before dark. Carry a lamp and spare power for unexpected delays. If visibility drops, reassess whether you can follow the planned route.
Use the trial to improve reflector placement and learn the lamp’s controls. Fog density, background, light source and weather change. The distance you could see at home doesn’t give you a safe distance in the mountains. Base your decision on the terrain and the visibility at the time.
Summary: use the trial to learn what your gear can do
Lights illuminate the ground, and reflectors return light toward the source. Test the lamp and attachment points somewhere safe, and agree on spacing and calls. If fog obscures your footing or location, stop and reconsider the route.