
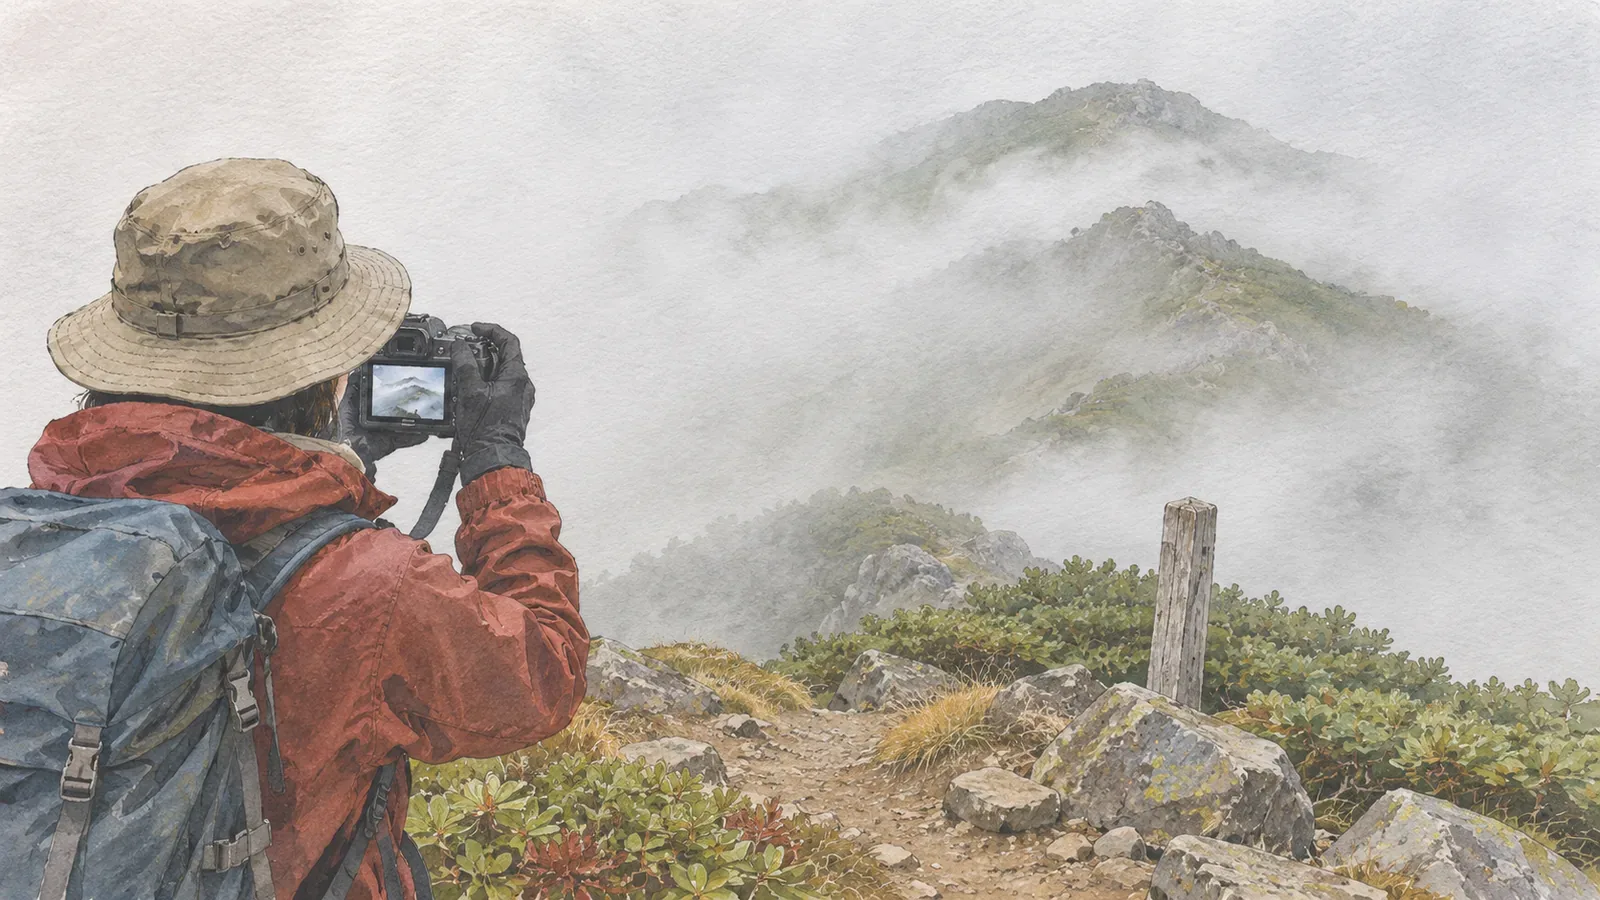
A photo may show a distant outline even though you couldn’t clearly see the path at the time. The reverse can happen too. A photo records a particular direction through particular camera settings. In fog, check both what you can see now and where you are on the map before choosing which way to go.
Distinguish the camera frame from visibility on the ground
The Japan Meteorological Agency defines visibility as the distance you can see horizontally. When it varies by direction, the shortest is generally used. One side of a ridge can be clear while the other side or the direction you’re walking is obscured. A single photo covers a limited part of one direction.
Exposure and editing change brightness and how much detail a photo shows. Nikon explains how exposure can brighten or darken an image and how blown highlights or deep shadows can hide details. A camera and the naked eye can each show details the other misses. An outline in a photo doesn’t confirm that you can see the trail or your footing clearly enough to proceed.
Moving even a short distance from where the photo was taken can change the angle and which features overlap. When you look back at the image, recall where you were and which way you pointed the camera.
Record the conditions when comparing photos
To record changes in fog, stop in a safe place and note the time, location, camera direction and landmarks. Photographing the same view again later makes comparisons easier. Automatic camera settings can change brightness, so differences between images can have more than one cause.
Keep a separate note of what you could see with your own eyes. For example, “I could read the near sign but couldn’t see the junction beyond it.” Label any unmeasured distance as an estimate. A photograph alone doesn’t give you an exact visibility measurement.
Stay back from dangerous edges and keep to the trail when taking photos. Choose a place where you won’t block anyone and are standing steadily before operating the camera. If fog makes it hard to see your footing, skip the photo.
Use older photos to prepare for a route
Trail articles and older photos can help you learn the terrain and signs in advance. Clouds, fog, seasons and trail conditions change. Prepare current local information and a map in case the landmarks you saw in an image are obscured when you arrive.
The Obihiro Weather Station describes what Japanese hikers call gasu as being inside a cloud that covers the mountain. It can develop quickly. Even a photo from a few minutes ago may no longer reflect visibility. If conditions change, stop safely and verify your position and route.
When sharing photos with hiking partners, include when and where they were taken and which way the camera pointed. A photo from another point can be mistaken for current conditions. If your own location is uncertain, distinguish what you know from what you suspect.
Use several sources to check the route
If visibility drops, stop safely and cross-check the map, compass, signs, terrain and position data. A line that resembles a trail in a picture is insufficient if you can’t confirm the footing or junction in front of you.
Japan’s National Police Agency warns about poor visibility in fog and advises stopping to check if you think you’re lost. If you turn back, verify the route and footing. Consider whether there’s a safe place and enough time to wait, and whether you need help. A photo of a possible path is only one clue. Practise using the map and prepare a way to communicate before departure.
Photos can help you review the hike afterward. Combine them with your notes about time and place to see which direction was visible and where you were unsure what to do. Before the next hike, check the latest weather and local conditions again.
Summary: a photo shows one direction at one moment
Direction and camera settings can make fog look different from what you saw. Record time and place for comparisons. For decisions on the trail, check the map and what you can observe now.