
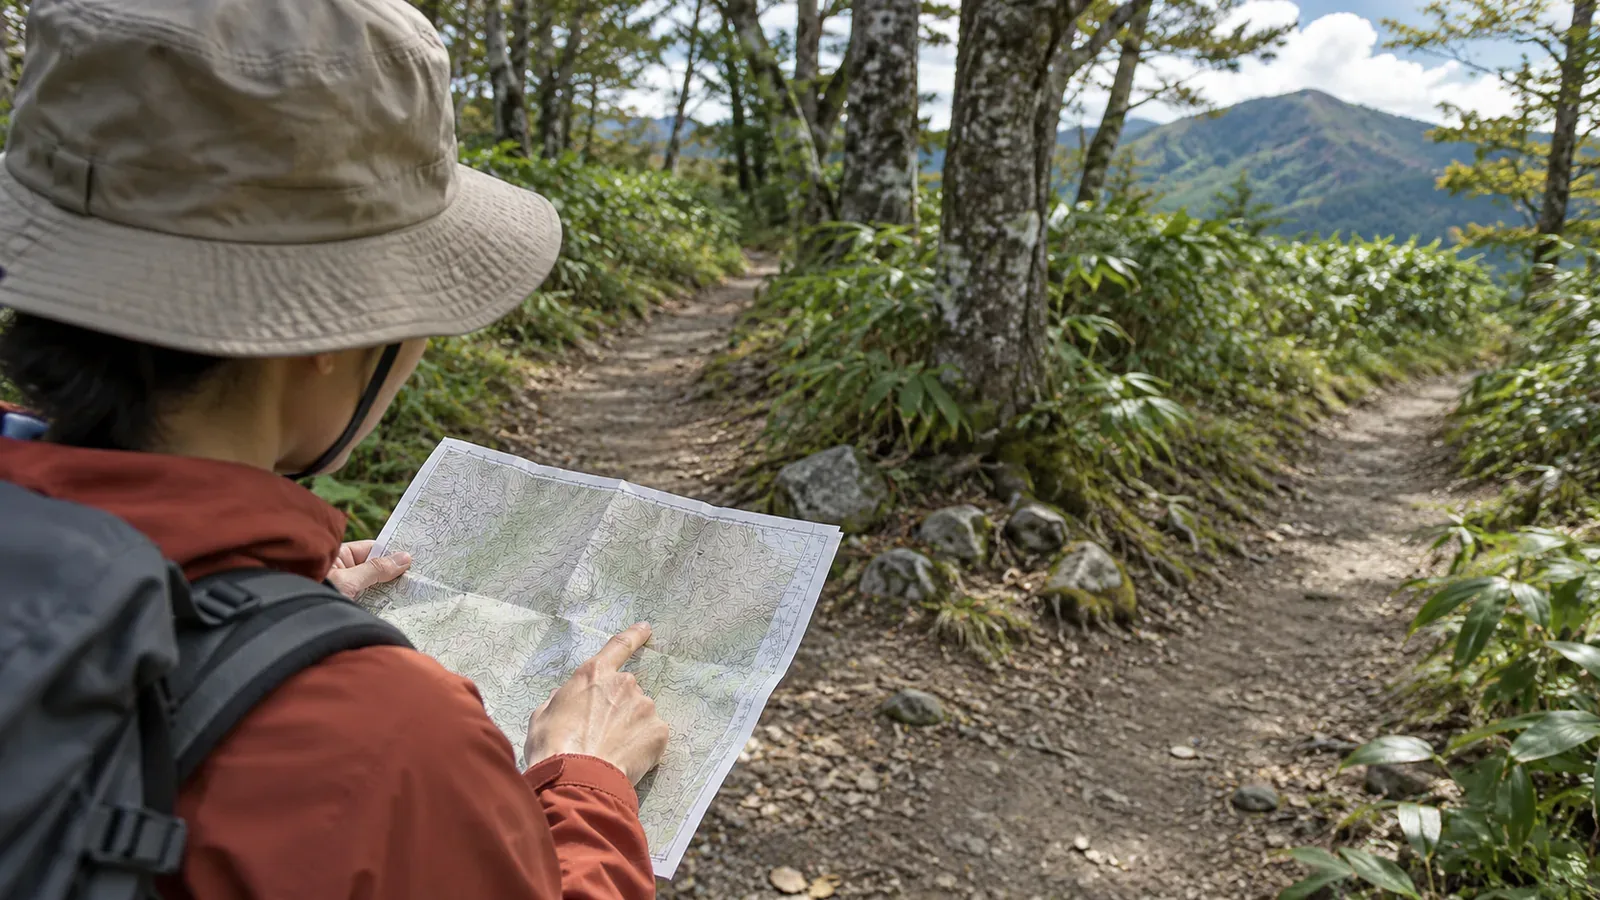
If you want to walk a familiar loop in reverse, study the map with the new direction marked on it. Even on the same trail, the climbs and descents switch, and you approach junctions from a different side. Flipping a photo left to right cannot reproduce the view from a different spot. Drawing on a hiking guide's explanation and official guidance on avoiding getting lost, here is how to work out where to check your bearings when walking the loop in reverse.
More than the view changes when you reverse a loop
YAMAP MAGAZINE explains that ridges tend to branch on the descent, while hikers following a stream uphill can mistake a tributary for the main stream. Where a trail branches off a forest road, it is easy to stay on the more walkable road and miss the turn. The article gives the descent along Sannoto Ridge in Tanzawa as an example. Overlooking the direction of a sign at a junction is another way to lose the route.
In the reverse direction, a climb becomes a descent and a descent becomes a climb. A ridge fork or a meeting with a forest road that you barely noticed in the usual direction may be easy to misread in reverse. Check the junctions and terrain on your own route map. Check the trail manager's information for one-way sections and access restrictions, too. You will also approach signs from the side you are less used to seeing. Their appearance may differ from what you remember.
YAMAP gives an example from the Tanzawa Omote Ridge, walking from Yabitsu Pass toward Mount Tō: Mount Fuji and the Shōnan coast to the south can help with orientation. As the path bends, however, Fuji will not always be straight ahead or the sea on your left. Walking the other way at the same spot swaps left and right, and front and back. Check the view from different spots separately, and use the map alongside the scenery to determine your direction.
Make notes on what to expect in reverse before you leave
This paper-map exercise helps you check the route without relying on your memory of the usual direction. Add four things to a map. First, split the route into sections, draw arrows for your direction of travel, and note whether each section climbs or descends. Second, mark landmarks you can locate on a topographic map by their compass direction, such as “sea to the south.” Third, check where to go at each junction or meeting with a forest road when arriving from the other side. Note any other path you might be tempted to follow because it looks easier. Fourth, add a short phrase for each change in terrain, such as a ridge fork, stream confluence or bend.
The second step uses compass directions because they stay the same when left and right swap. The YAMAP article recommends staying aware of your compass direction. Writing “sea to the south” makes the note easier to use than “sea on the left” when you are walking the other way. Whether you will see it depends on terrain and weather, so compare its position on the map with the view on the ground. The fourth step adapts two suggestions from the article for a reverse route: describing each section in words to check during the hike, and locating bends and terrain changes on the map beforehand.
Photos and records from the usual direction can help locate landmarks if you know where they were taken and which way they face. The Yamanashi Prefectural Police caution that information seen or heard online does not give you experience on the ground. Use such records to support your map reading. If you cannot tell whether a section is suitable in reverse, check with the trail manager or choose another route.
On the trail, stop if the view differs from your notes
The YAMAP article advises looking up to scan your surroundings and noticing changes in the feel of the ground under your boots. It recommends checking your map or app as soon as something feels off so you can spot a mistake early. If the view differs from your notes, treat it as a reason to stop and check. It is possible your prediction was simply off.
Check your footing and surroundings, then stop to look at the map or your notes. If you are unsure of the route, avoid moving in an unfamiliar direction to find a place to check. If you cannot establish where you are and which way to go, stop. Retrace your route only if you can follow it safely and with confidence. Give priority to your immediate safety and any calls or messages you need to make.
If you use a compass, allow for magnetic declination. The Geospatial Information Authority of Japan explains that the difference between the compass's north and the map's north varies by place and over time. Look up the value for this area and check the reference year of the data before you go. The agency's online maps can show declination values and magnetic north lines. Practice aligning the map and the compass you plan to use before departure.
If you still cannot place yourself, stop and use the return plan
The Yamanashi Prefectural Police advise hikers who get lost to establish where they are right away and return to the official trail if they can identify a safe way back. The National Police Agency likewise recommends avoiding blind progress, returning to the official trail when safe, and assessing the situation early enough to call off the hike. The prefectural police cite cases in which lost hikers entered a stream valley and became exhausted, or fell from cliffs.
Tell your companions before you leave that you will stop if the view does not match and a check still leaves you unsure where you are. If you cannot establish the way back either, avoid wandering around trying to retrace your steps and consider calling for rescue. Use the map or trip records to work out what you can tell rescuers about your position. Avoid moving onto a dangerous slope in search of phone reception.
The National Police Agency recommends allowing time to spare, identifying hazards and escape routes in advance, and preparing a trip plan to share with family or work and file as appropriate. At the same point on a reverse loop, the part behind you differs from what would be behind you in the usual direction. The time it would take to turn around and reach the start can therefore change. Add the direction you would take if you turned back in each section to your notes. Put your direction around the loop in the trip plan you share. The editorial suggestion is meant to help the person who hears from you understand your route.
A phone with GPS can help you call for rescue. The National Police Agency points out that signal coverage and battery life are limited in many mountain areas. Bring a paper map and your notes as well.
Plan the reverse loop as a route of its own
Reversing a loop swaps climbs and descents, left and right, front and back, and the way you approach junctions. The examples in the sources come from specific routes such as the Tanzawa Omote Ridge. Check your own route against the map and information from the trail manager. Put each section's climbs or descents, the compass directions of landmarks, the way to go at each junction, and the way back on a single map so you can check them on the trail. If the view differs, stop and check. Go back if you can identify a safe return. If the return is also unclear, stay put and seek help. Agree on that order with your companions before you head onto the familiar trail from a new direction.
References and sources
- YAMAP MAGAZINE, Daisuke Washio — Skills and habits for avoiding getting lost
- National Police Agency of Japan — Overview of mountain incidents in 2024
- Yamanashi Prefectural Police — Mountain hiking guidance
- Geospatial Information Authority of Japan — Making hiking maps easier to use (December 1, 2016)
- Geospatial Information Authority of Japan — Calculate geomagnetic values